Whether you’re an experienced atlas maker or embarking on your first project, we all know producing an atlas is no small task. In short, an atlas consists of a series of maps and an associated index. Seeing that cartographic content often takes centre-stage, when planning your project it is easy to assume that the map-making process will be the most demanding. However, the proper indexing of map features is often by far the largest individual task when it comes to producing an atlas and can be quite burdensome.
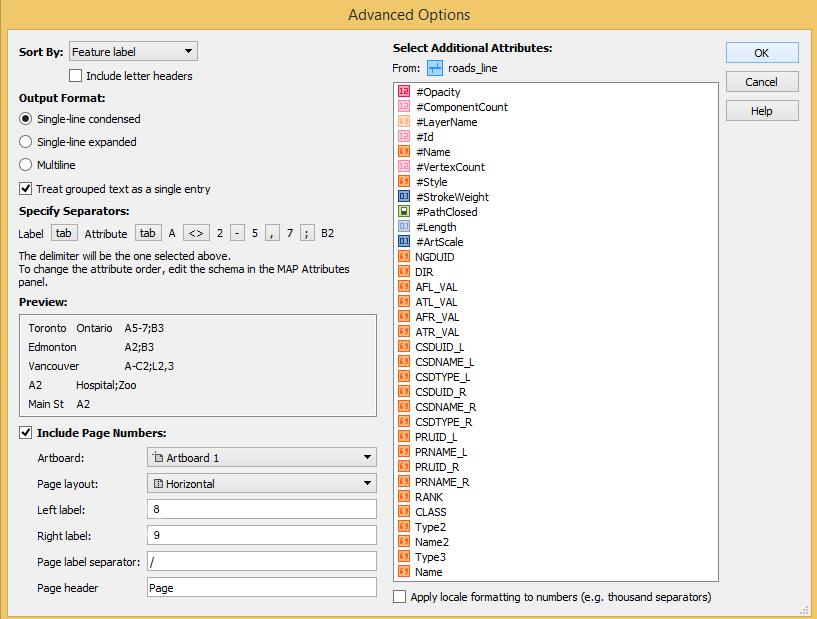
You will be happy to know that MAPublisher 10.1 makes indexing that much easier with the addition of the Include Page Numbers option to the Make Index tool. This advanced option completely automates the indexing of page numbers while also enabling the indexing of two page maps on a single artboard.
For atlas makers, this new addition will streamline and improve the indexing process making it a key enhancement considering the primary function of an atlas index is to help the user locate features and points of interest on map pages.
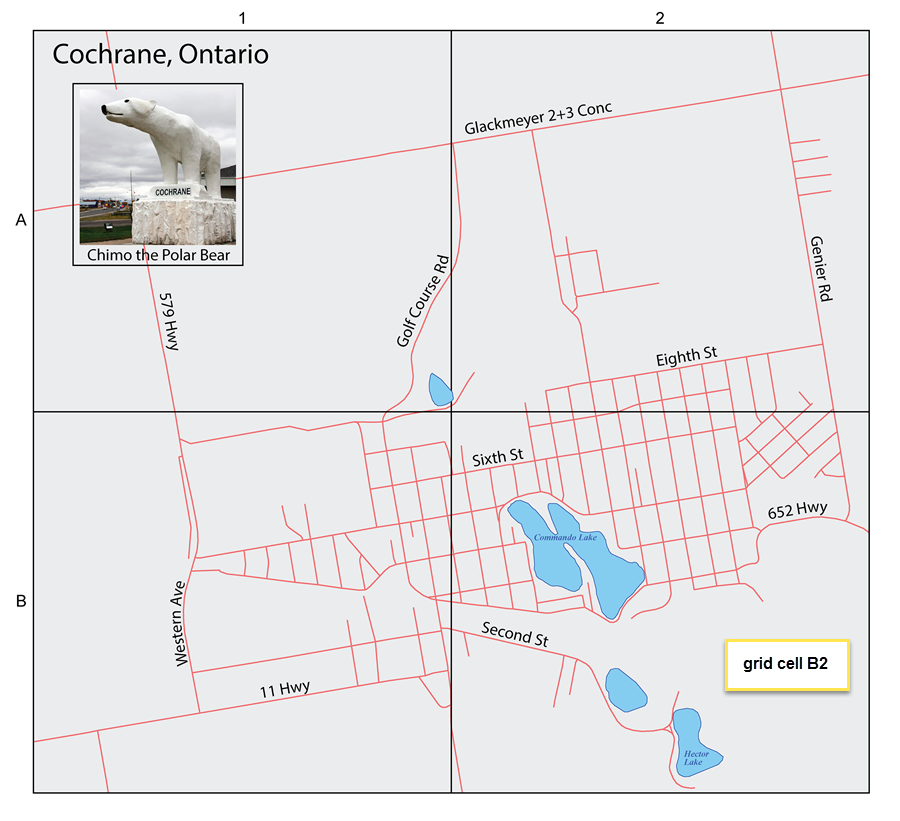
Let’s take a look at a basic street atlas of Cochrane that was created using MAPublisher 10.1. Cochrane is a town located in Northern Ontario which is not only famous for its mascot Chimo but also for being the hometown of Tim Horton, founder of Canada’s largest coffee chain.
The atlas is divided into four sections: grid cells A1, A2, B1, and B2. Each cell contains two separate map pages numbered two through nine.
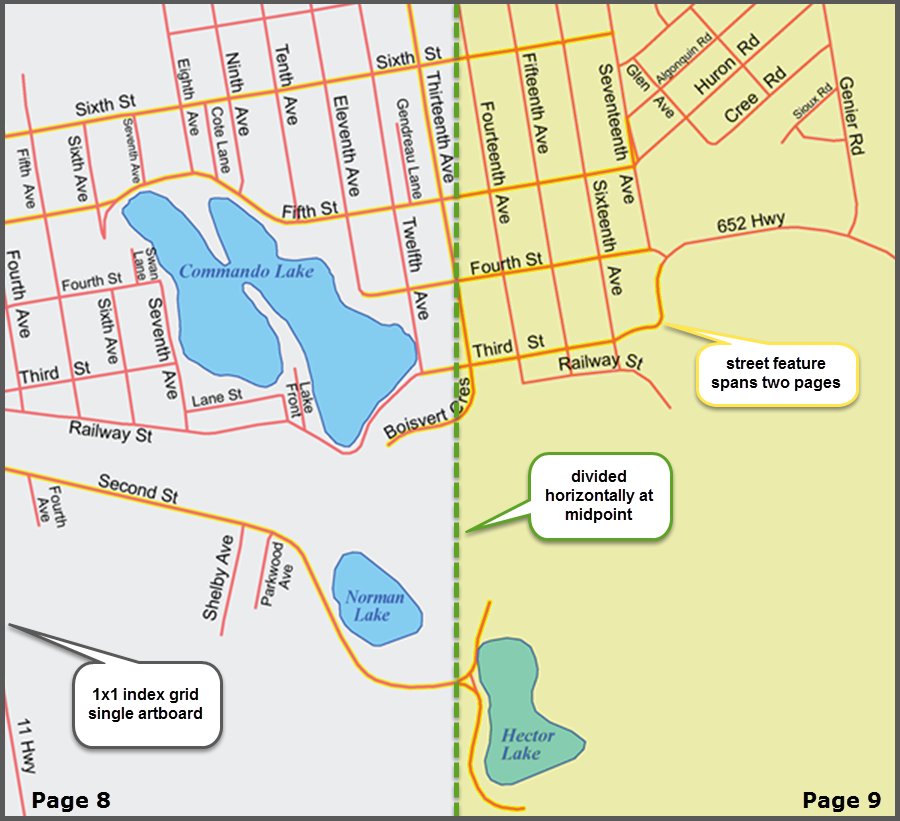
The following is a simple example which demonstrates the page indexing for atlas pages eight and nine found in grid cell B2.
Atlas makers can now index their page numbers as easy as one-two-three!
Step 1
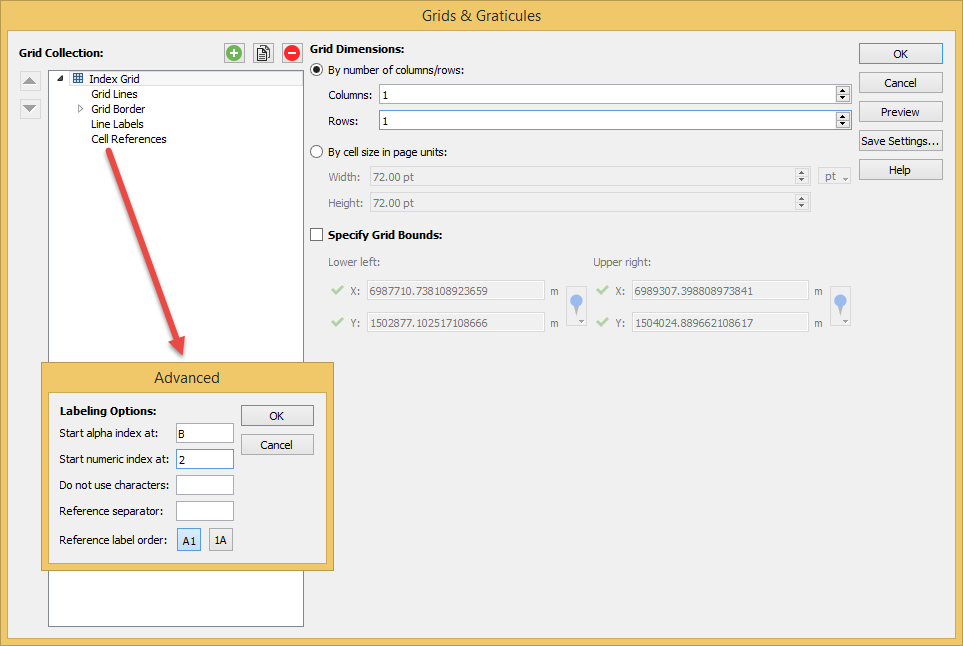
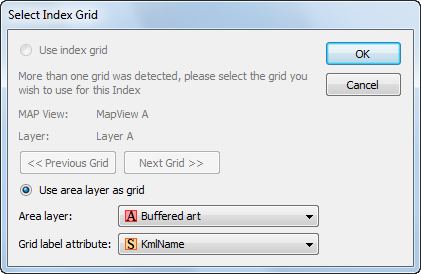
To start, using the MAPublisher Grids & Graticules tool, generate an Index Grid with one column and one row (1×1). Although the Index Grid option was selected, the Graticules or Measured Grid options can also be used if it better suits your atlas design needs. Additionally, Cell Reference Labelling was enabled and the advanced labelling options were set as displayed.
Step 2
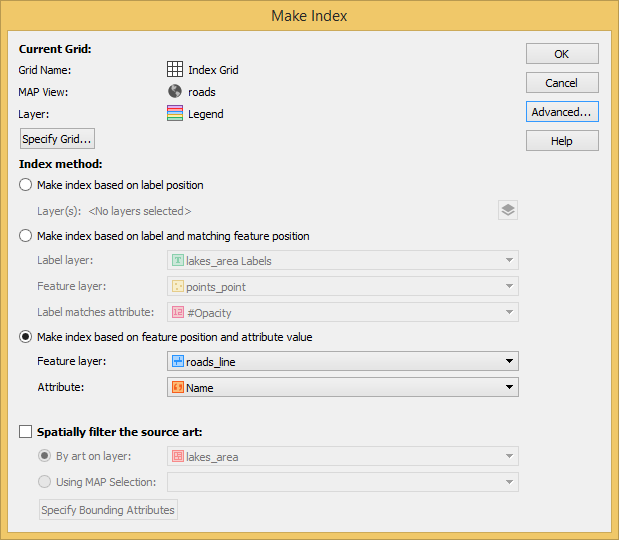
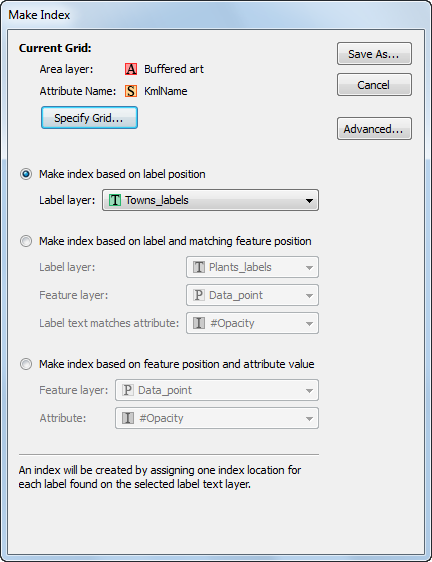
With your Index Grid created, access the Make Index tool which will initiate the map indexing process. Since we’re indexing streets in this example, we’ll go with the Make index based on feature position and attribute value. The feature position will be relative to which page or pages the street falls on while the attribute value will reflect the street’s name. In this example, streets which span two atlas pages have been highlighted with a yellow background on the map.
Step 3
Since a single artboard is being used to map features which span two atlas pages, the Advanced option Include Page Numbers will be enabled with a horizontal page layout dividing the artboard into page 8 and page 9.
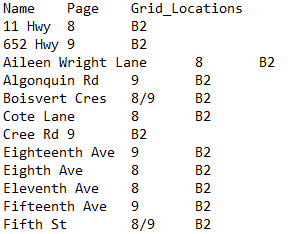
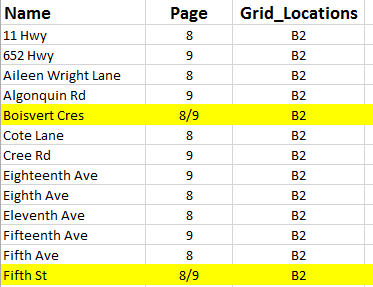
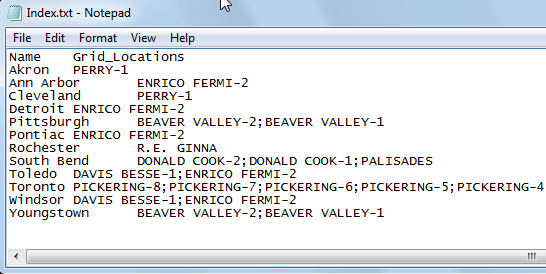
Simply click OK twice and your atlas pages will be indexed with the results written to a delimited text file as displayed below. From here, this file can be formatted and refined within a software like Microsoft Excel, Google Sheets, Quark Xpress, etc.
Portion of the delimited text file output:
Same portion imported into Microsoft Excel:
Note: streets which span two pages have been highlighted to correspond to the map example.
By necessity, indexes are created towards the end of each project when atlas delivery deadlines are looming. It is therefore very important that the technology and methods used be robust and efficient. The introduction of the Include Page Numbers option has enhanced and simplified the map indexing process while meeting the specialized needs of atlas cartographers.
For more information see:
- https://www.theindexer.org/files/24-3/24-3_119.pdf, Irvine, 2005
- https://blog.spatialvision.com.au/index.php/item/81-indexing-the-jacaranda-atlas
- https://avenza.com/help/mapublisher/10.1/index.html?make-index.htm


