The Channel Management tool in Geographic Imager is excellent for quickly making false-color composites from multispectral images in Adobe Photoshop. In this blog, we’ll take a look at Channel Management and see how it can be used on LandSat 8 imagery.
Most satellite providers supply a tile or scene as several images while each image captures a different wavelength of the satellite’s electromagnetic spectrum. The LandSat 8 satellite instruments measure in the visible, near-infrared and shortwave infrared portions of the spectrum. Its images have 15-metre panchromatic and 30-metre multi-spectral spatial resolutions. Here is a list of all LandSat 8 band names, bandwidth, and resolution.
Band # | Type Bandwidth (µm) | Resolution (m)
- Band 1 Coastal Aerosol | 0.43 – 0.45 | 30
- Band 2 Blue | 0.45 – 0.51 | 30
- Band 3 Green | 0.53 – 0.59 | 30
- Band 4 Red | 0.63 – 0.67 | 30
- Band 5 Near Infrared (NIR) | 0.85 – 0.88 | 30
- Band 6 SWIR 1 | 1.57 – 1.65 | 30
- Band 7 SWIR 2 | 2.11 – 2.29 | 30
- Band 8 Pan | 0.50 – 0.68 | 15
- Band 9 Cirrus | 1.36 – 1.38 | 30
- Band 10 TIRS 1 | 10.6 – 11.19 | 30 (100)
- Band 11 TIRS 2 | 11.5 – 12.51 | 30 (100)
Before starting, you can download some sample LandSat 8 imagery here and follow this tutorial.
To create different band combinations, we’ll first need to combine images into one image and then use Channel Management to assign band combinations.
1. In Adobe Photoshop, open all of the 30-metre resolution images:
- Band 1 – Coastal Aerosol
- Band 2 – Blue
- Band 3 – Green
- Band 4 – Red
- Band 5 – Near Infrared (NIR)
- Band 6 – SWIR 1
- Band 7 – SWIR 2
- Band 9 – Cirrus
When using Landsat 8 imagery, file names have a _B and the band number as a suffix (e.g. LC80450292013225LGN00_B1.TIF). Note that Band 8 wsa not used because it is has a different resolution.
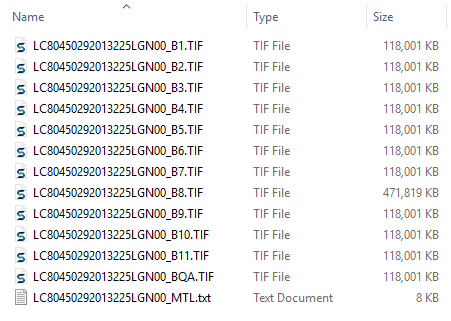
Now that the band images are open, we can continue to combine the images into a single image using the Adobe Photoshop Merge Channels feature to store the spectral information. Each channel is grayscale which can be used to store different information.
2. Go to View > Channels to open the Channels panel. In the panel options menu, select Merge Channels. In the Merge Channels dialog box, the Mode will automatically default to Multichannel because there are eight channels. Click OK.
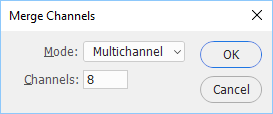
The Merge Multichannel dialog box will immediately appear. In this dialog box, we’ll specify each image to use for each channel. It’s very important to assign a channel to the according image. In this case, the naming convention of the images makes it easy because the images are in the correct order. In addition, when combining multiple images, it is good practice to ensure that all the images have the exact same image size and are georeferenced the same.
3. Notice the “Specify Channel 1” text, you’ll assign the Band 1 image to it. Click the Image drop-down to display all the images that are compatible to be merged. Select the first image which ends in _B1.tif and click the Next button. For “Specify Channel 2”, select the image ending with _B2.tif and click Next.
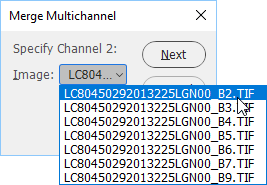
4. Repeat the steps for the remaining images until all eight channels have been assigned an image, ensuring the channel number matches the image band number. The only exception will be Channel 8 which uses Band 9 – Cirrus (_B9.tif) because we didn’t include the panchromatic band 8 which has a higher resolution and different georeference.
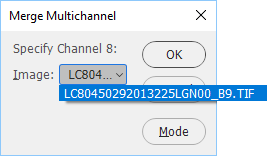
The images are now merged into a single image in Multichannel mode. Since an image in Multichannel mode is not compatible with Geographic Imager, it will have to be converted to Grayscale mode.
5. Go to Image > Mode > Grayscale. This will assign the first alpha channel (Band 1 – Coastal Aerosol) to use the Grayscale colour space.
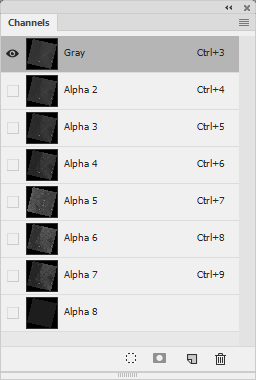
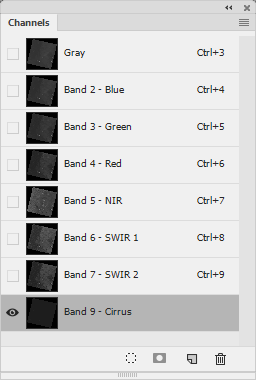
6. In the Channels panel, rename all the channels to their corresponding bands.
- Alpha 2 -> Band 2 – Blue
- Alpha 3 -> Band 3 – Green
- Alpha 4 -> Band 4 – Red
- Alpha 5 -> Band 5 – NIR
- Alpha 6 -> Band 6 – SWIR 1
- Alpha 7 -> Band 7 – SWIR 2
- Alpha 8 -> Band 9 – Cirrus
Renaming channels makes assigning band combinations easier in later steps. It is recommended to save this image as the source for all band combinations and use Save As to create a new images when saving band combinations.
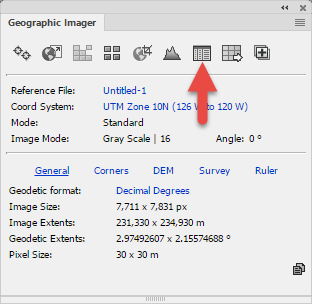
7. In the Geographic Imager panel, click the Channel Management button.
The Channel Management dialog box shows the current colour mode is Grayscale.
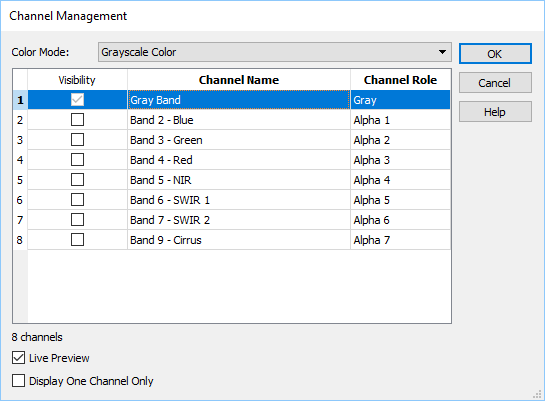
8. Change the Color Mode to RGB Color.
Now the fun begins, we can easily create any band combination. A traditional color infrared image (CIR) is band combination 5-4-3. This refers to what band is assigned to the RGB channels, respectively. CIR is good at determining the health of vegetation; the cell structure of leaves strongly reflects near-infrared light and the stronger the light sensed, the healthier the plants are.
8. Assign Band 5 as the Red channel, Band 4 as the Green channel, and Band 3 as the Blue channel.
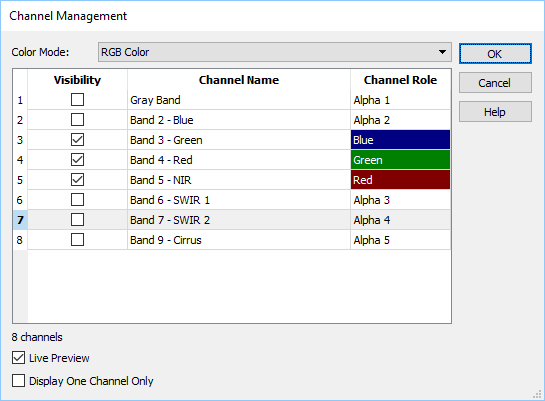
9. Click OK to complete the process.
We now have a image which can be used to determine healthy vegetation which is shown in bright red. This makes it easier to determine different types of vegetation making it easier to identify crops and wetland.
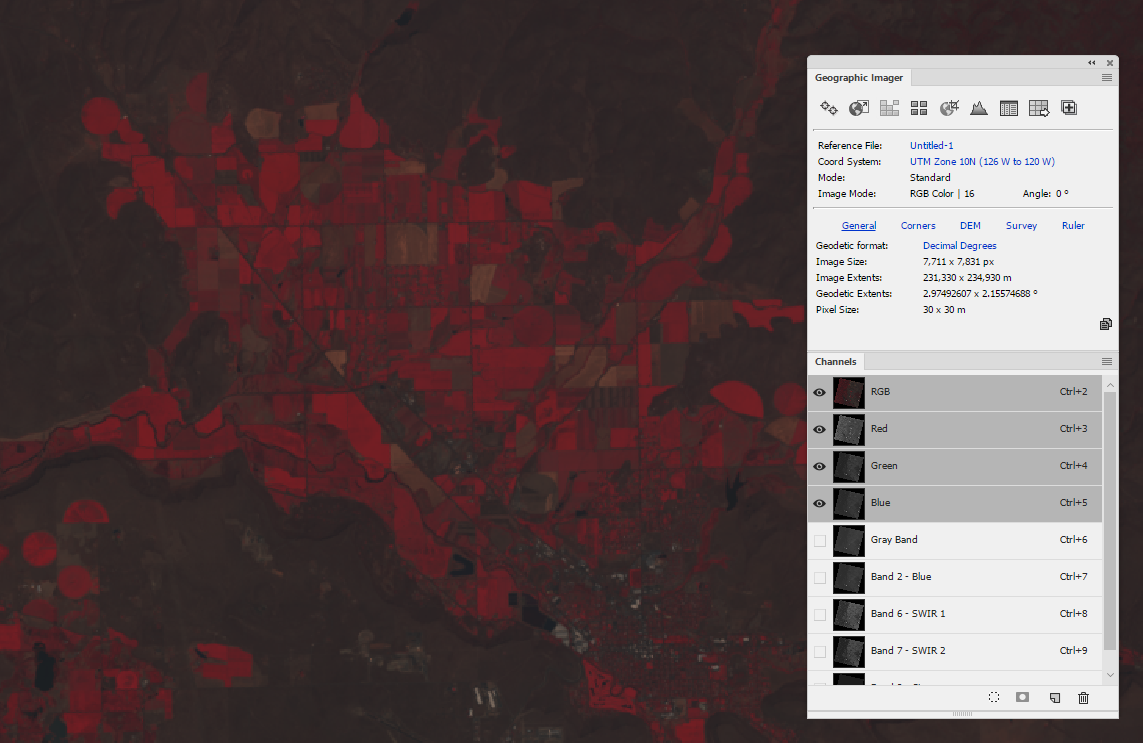
Some other common Landsat band combinations are:
- Natural Color: 4-3-2
- False Color (urban): 7-6-4
- Color Infrared (vegetation): 5-4-3
- Agriculture: 6-5-2
- Atmospheric Penetration: 7-6-5
- Healthy Vegetation: 5-6-2
- Land/Water: 5-6-4
- Natural With Atmospheric Removal: 7-5-3
- Shortwave Infrared: 7-5-4
- Vegetation Analysis: 6-5-4
Another band combination of 6-5-2 can show how healthy vegetation is.
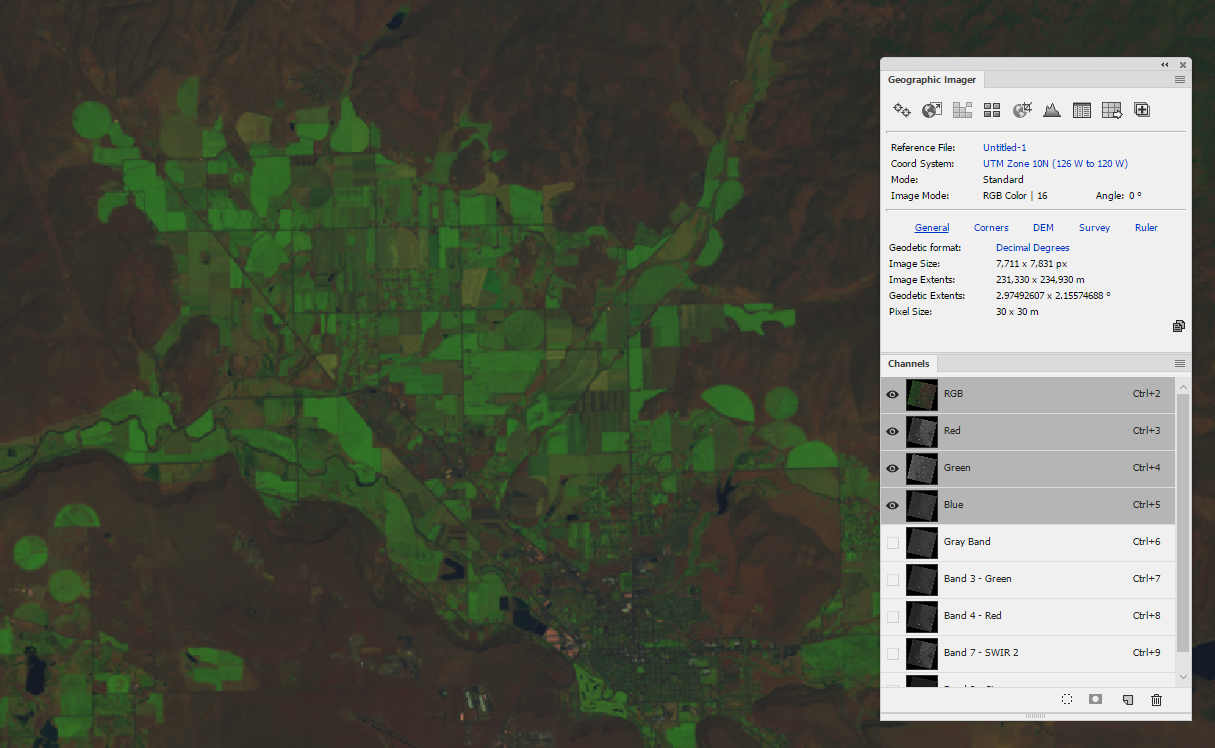
10. Use the History panel to go to the previous step.
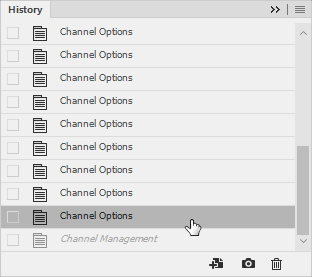
This will reset the Channels so that another band combination can be configured easily.
Another great way to make non-destructive edits is to use Adobe Photoshop adjustment layers. Adjustment layers layer can be used individually or in combination to adjust settings such as levels, exposure, contrast, brightness, hue, and saturation to make it easier for the human eye to identify features. It is not recommended to alter an images resolution if it is going to be used in third-party remote sensing software.
There are several options when saving an image like this and it depends on whether you want to maintain the channels or not. When the channels aren’t needed, GeoTIFF is a popular format and is compatible with most spatial software applications. In the TIFF save options, you can uncheck the option for Alpha Channel and Spot, which will prevent saving the alpha channels and will create a saved copy. You can also simply save it as a PSD file (a default reference file will be created) and with all the alpha channels intact. Note that including channels will increase the size of the file.


