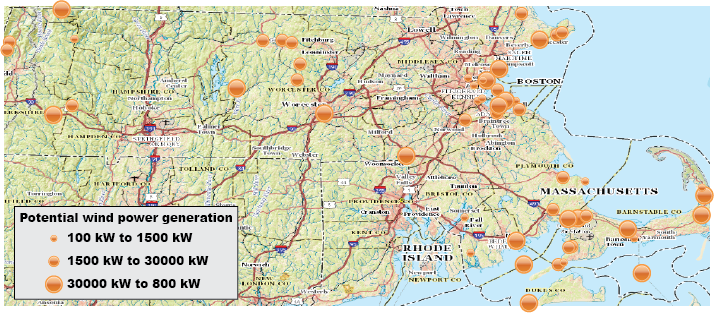
Online services can be used to create high-quality maps without the need to download and maintain large spatial datasets or spend time designing base maps. In this post, we’ll use two online sources to import data and create a map showing the potential energy generated from existing and proposed wind power projects in the state of Massachusetts.
There are two types of online mapping services MAPublisher can use to import layers: Web Map Services (WMS) and Web Feature Services (WFS). WMS is an interface for accessing geo-registered images from an online source. This means that users aren’t able to modify individual elements of a WMS layer and are only able to select an area of the map to import. WMS also allows for transparency so map layers can be overlaid on top of one another.
WFS, on the other hand, is an interface for accessing vector map features in GML format. Features are imported as a MAP Layer which can be further modified using MAPublisher and Illustrator tools. To create this map, we’ll import data from two sources: a topo map from the US Geological Survey (USGS) and the Massachusetts Office of Geographic Information (MassGIS).
To start, open Adobe Illustrator and create a new document in portrait mode. Import a MAP Layer and select Web Feature Service from the Format drop-down. Click the “Click to select services and layer(s)”. link. The MassGIS layers are included with MAPublisher by default. If you do not see this service, click Load Services from Avenza. Select Commonwealth of Massachusetts, USA – MassGIS in the USA folder.
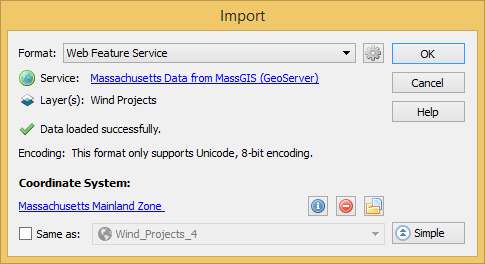
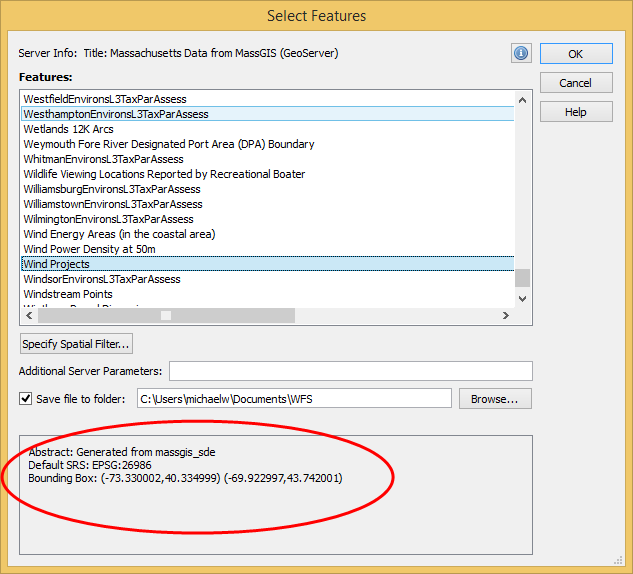
On the Select Features dialog box, select Wind Power. Note the default SRS – EPSG 26986. On the Import dialog box, click the link to select a coordinate system. Choose Massachusetts Mainland Zone (EPSG 26986). Click OK.
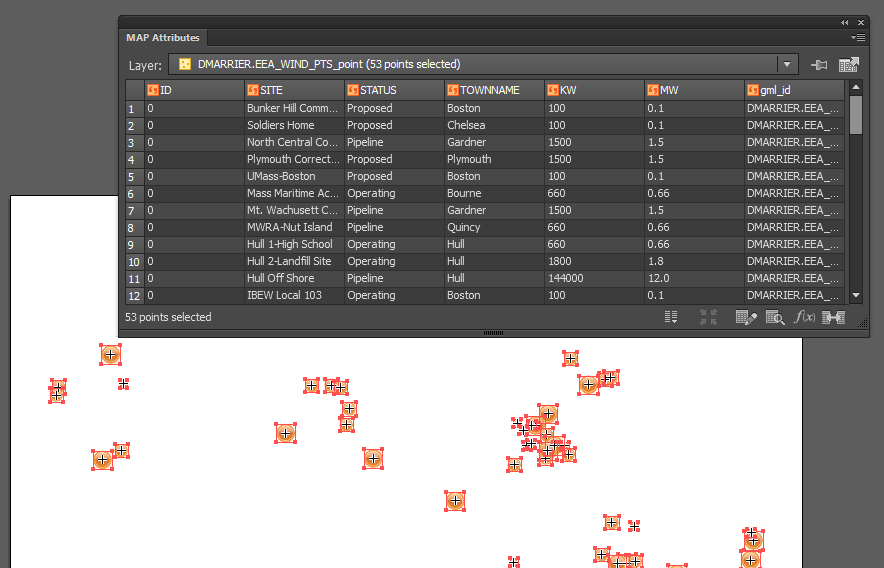
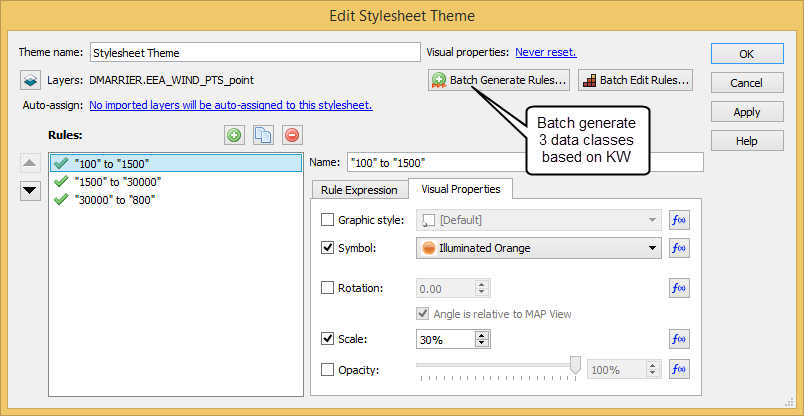
The Wind Projects layer has been imported as a MAP Layer. It can be modified using MAPublisher or Illustrator tools to symbolize, label, select, and so forth. To create the style for this layer, add a new Stylesheet MAP Theme of Point feature type, then Batch generate rules for the KW column using three quantiles, and select Set scale so the symbols scale proportionally to the value. For more on how to replicate this style, see the MAPublisher Help article MAP Themes.
The next step is to import a WMS layer to use as a base layer. This map uses the USGS Topo Base Map which was created as part of the National Map program. A list of WMS and WFS services provided by USGS is available at http://viewer.nationalmap.gov/services/.
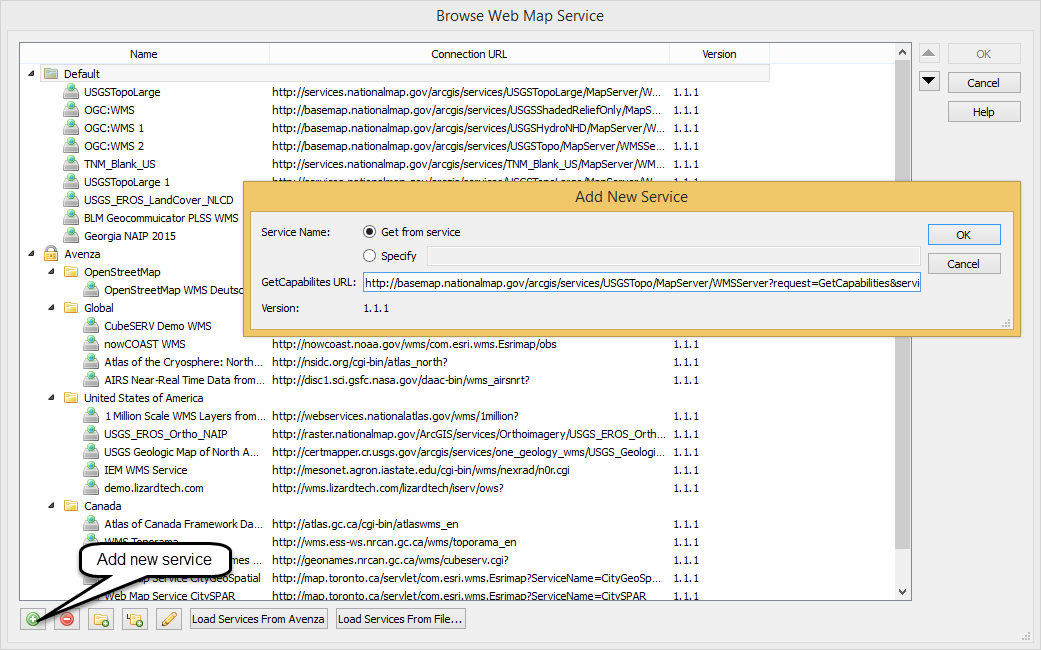
Go to the USGS web page and open the WMS link under Base Maps (Cached) > USGS Topo Base Map – Primary Tile Cache (Tiled). This is an XML document with the location and metadata of the WMS. Copy the link from the address bar and in Adobe Illustrator, click the MAPublisher Import button and choose Web Map Service from the Format drop-down menu. Click the “Click to select service and image” link. Click Add New Service and paste the URL into the GetCapabilities URL text box. Choose the service from the list and click OK.
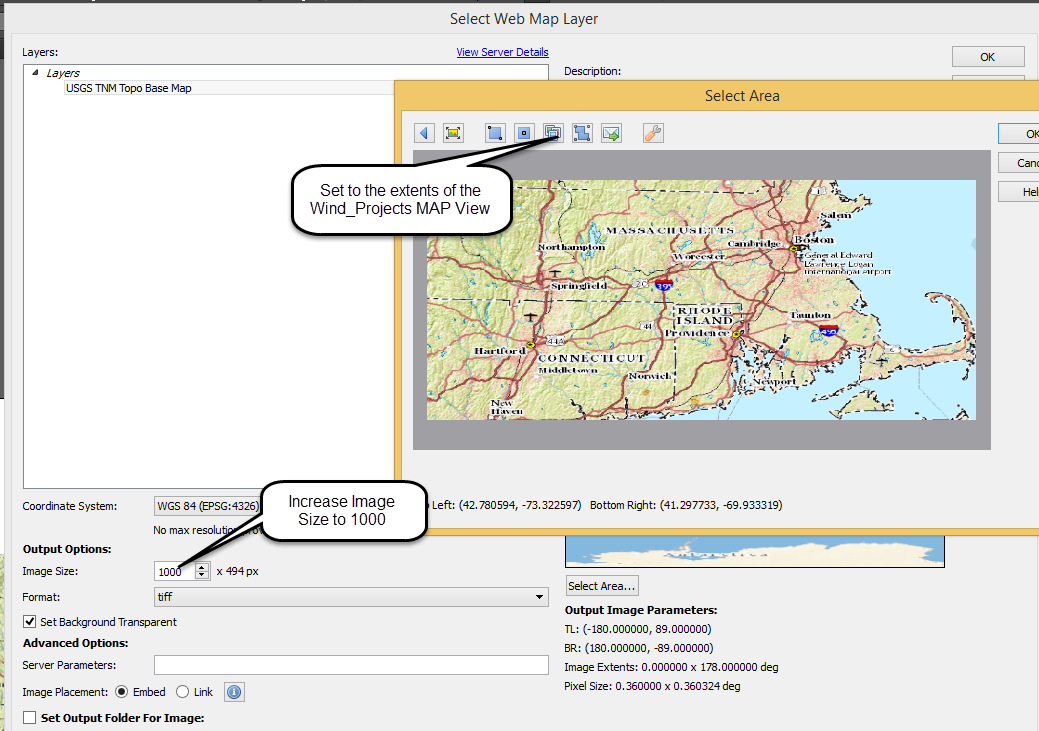
On the Select Web Map Layer dialog box, choose USGS Topo Base Map from the Layers list. Set the Image Size to 1000 to increase the resolution. To change the extents of the output image click Select Area. This dialog box provides several options for setting the extents of the base map image. Click-and-drag to specify an area to select – the image will automatically crop. The buttons at the top of the panel allow you to enter the coordinate extents manually, match the extents of a MAP View or match the extents of a vector layer. Since we have already added the Wind Power layer to the map, we will set the extents to match this map view by clicking “Select area by MAP View” and choosing Wind_Projects from the drop-down menu. Leave the other options as default and import the base map image.
For the final step, open the MAP View panel and drag the layer DMARRIER.EEA_WIND_Point to the MAP View USGS_TNM_Toppo_Base_Map. This will transform the points to the same coordinate system as the base map.
There are thousands of freely available WMS and WFS sources available online. For a good starting place see this blog post from the Open Geospatial Consortium for advice on finding services. You could also use a basic web search – for example – “WMS Toronto” or similar. For more help on web services in MAPublisher see the help article Web Map/Feature Service.


