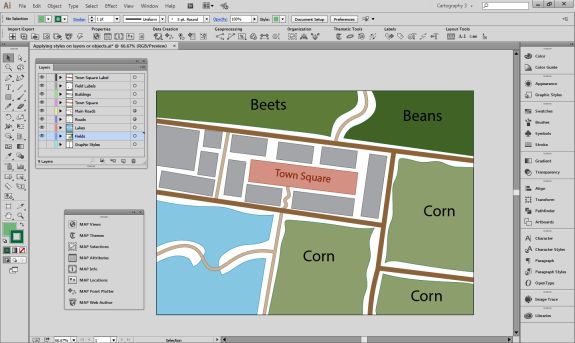
One of Adobe Illustrator’s powerful yet occasionally confusing features is the ability to apply fills, strokes and Graphic Styles to art at either the Object level or the Layer level. This is extremely useful because you can effectively use Layers to set up symbology templates so that any art that is drawn on a Layer inherits its appearance from that Layer. Confusion often arises when users combine art styles at both the Layer and Object levels, and cannot figure out why their map does not look how they expect it to look. Most of the examples here are going to be based around using the Appearance panel to apply strokes and fills.
Selecting Objects or Selecting Layers
The first decision you have to make is how you select your art. You can either select the layer that the art is on or directly select the art itself. This determines where the changes you make get applied. In order to select the layer, click the circle to the right of a layer name in the Layers panel. You will see that the layer is selected (also known as targeted) by the addition of another circle around the first circle.
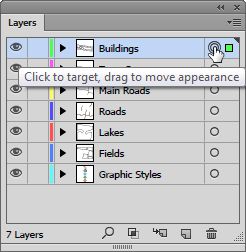
To select all the art on a layer you can either click in the space to the right of the circle, or Alt-click the layer name.
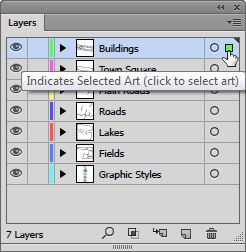
If you expand the layer you can see that the art is targeted rather than the layer.
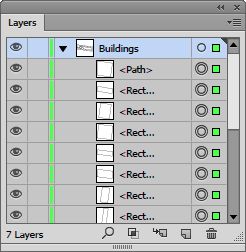
Whichever method you use, you will see the art on the canvas appear as selected.
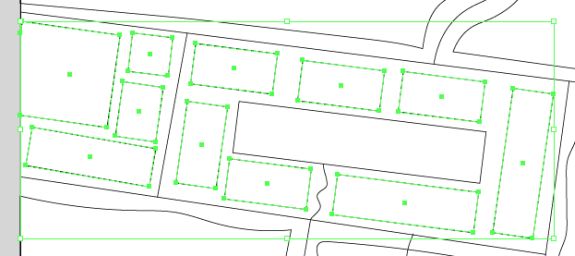
Of course you can select individual art using the Selection tool or clicking to the right of the circle next to the object name in the Layer panel.
Changing Strokes and Fills
One advantage of selecting art at the layer level over selecting art directly is the access to the strokes and fills in the Appearance panel.
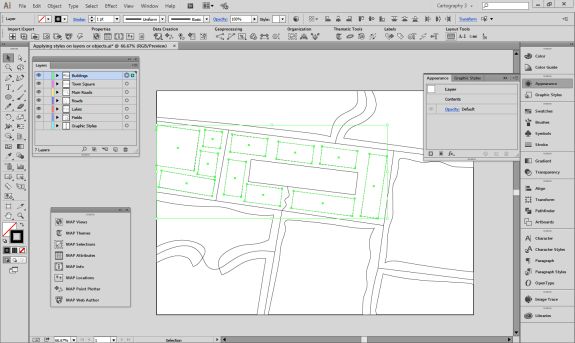
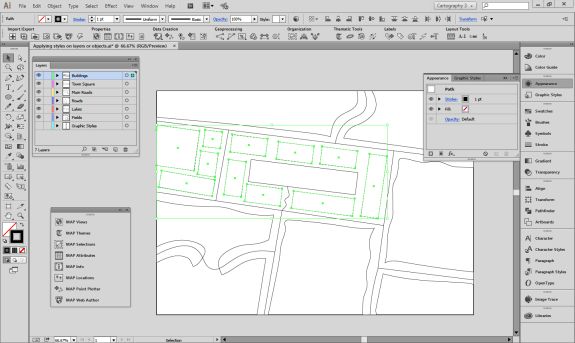
If you select the layer, you do not get direct access to the art’s strokes or fills, however if you select the art you do.
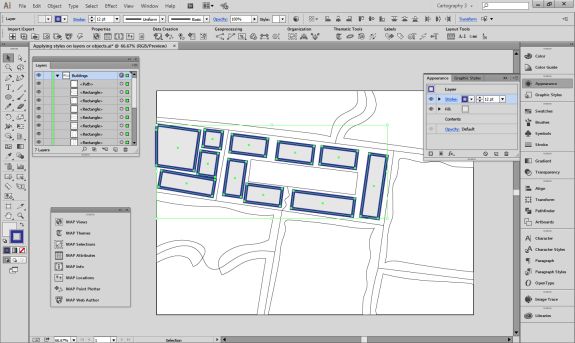
You can add more strokes or fills in the Appearance panel, but if you want to add strokes or fills at the layer level, they are additional to the strokes or fills that are defined at the object level. We can see this if we style the fields individually with different fills, perhaps representing different crop types. We could also add a stroke to each object, or we can add the stroke to the layer. Adding strokes or fills like this is useful when you want to ensure that all art on that layer shares the same symbology.
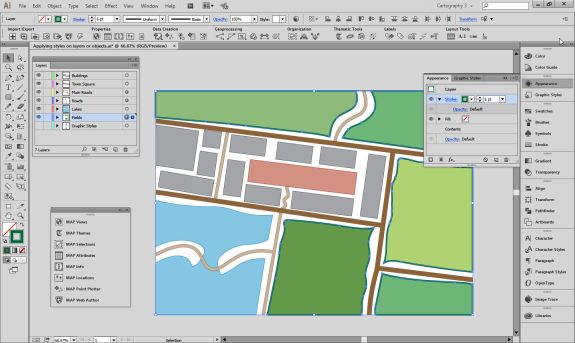
Directly changing the appearance of objects is reflected both in the Appearance panel and the object thumbnails in the Layers panel.
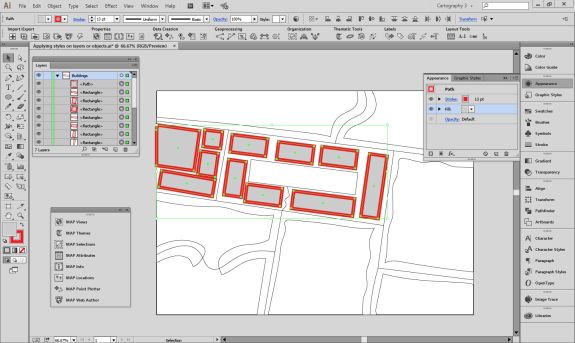
However, if you add extra strokes or fills at the layer level, these are not shown in the objects thumbnails.
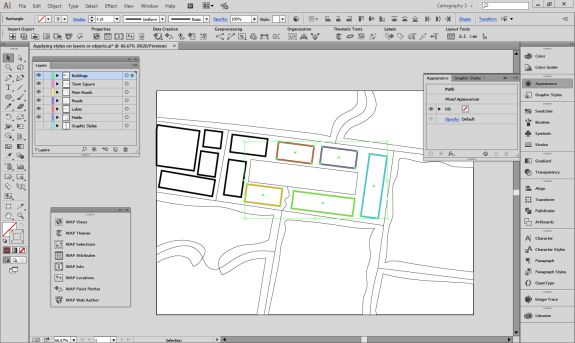
One important consideration is that it is not possible to use the Appearance panel to adjust several pieces of art with different fills or strokes that are applied at the object level. For example, suppose we have changed the colours of several building outlines, and now want to change them back to black. If we select them all, we will see that the stroke option is not available in the Appearance panel, rather it says Mixed Appearances. The fill is still available to be changed as it is the same for all objects.
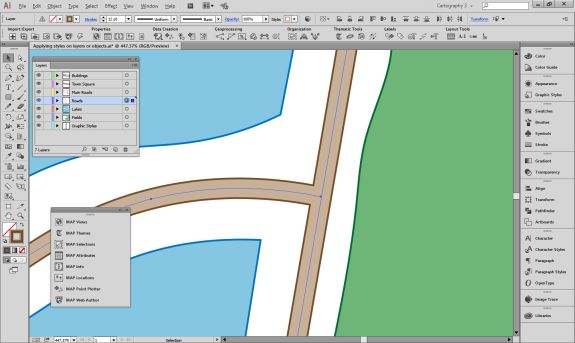
Altering appearances can have different results if applied to objects or layers. A good example is a street style that is created with two strokes. If this is applied at the object level, each object is considered separate and you end up with overlapping paths.
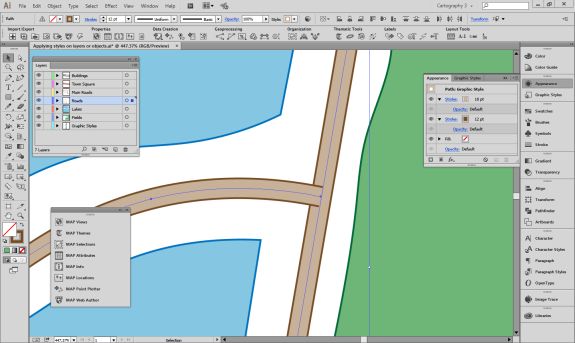
However, if this style is applied at the layer level, the paths are styled at the same time and appear to be merged.
Applying Graphic Styles
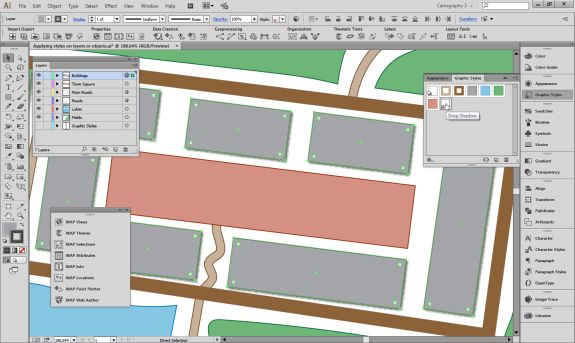
Graphic Styles are great to easily add combinations of strokes, fills and effects to art, and these can also act differently when applied to objects or layers. In the Graphic Styles panel we have a Graphic Style with null fill and stroke, but a drop shadow added. If we try to add this directly to the building art, the null fill and stroke will cause the buildings to disappear.
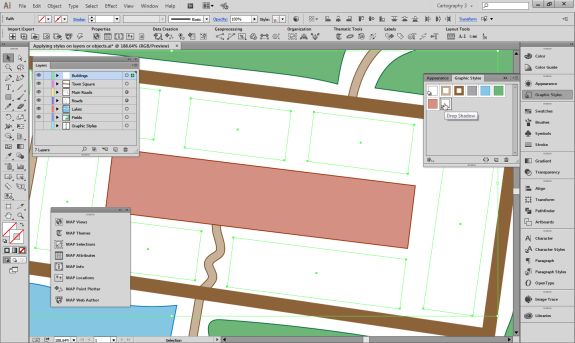
However we can add it to the Buildings layer and the effect is successfully combined with the object level appearance.
Resolving Appearance Confusion
As mentioned earlier, it is possible to combine object level and layer level appearances. This can get complicated if you have different objects on the same layer with different appearances as well as appearance modifications at the layer level. Trying to work out why you cannot adjust the style of your paths because you are getting Mixed Appearance in the Appearance panel can be frustrating.
The easiest method to fix this is to use the Clear appearance button in the Appearance panel. Keep in mind that this will totally remove any appearance formatting that you have applied to your layers or objects, so it is worth creating Graphic Styles of the appearances you want to retain. Just like changing appearances, this button works at both the object and layer levels.
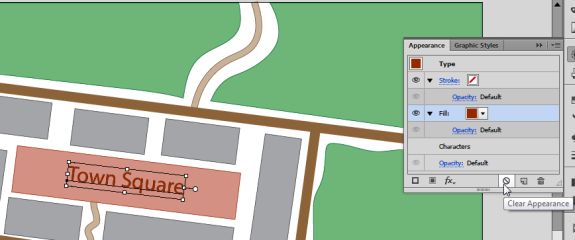
An example of how layer and object appearances can get confused is multiple white strokes applied to different text objects in different ways. The user has created several text objects labelling fields and added strokes to them in various different ways. However, he’d like to remove the strokes from all the text now. You can see that the different labels all have black fills and white strokes, but are subtly different.
The first thing to do is check the Layers panel. We can see that the target indicator for the Field Labels layer is raised. This indicates that an appearance has been applied to this layer.
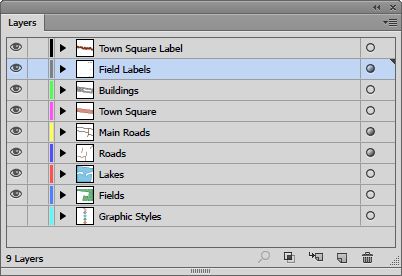
Once we click on this we can use the Appearance panel to remove it with the “Clear Appearance” button.
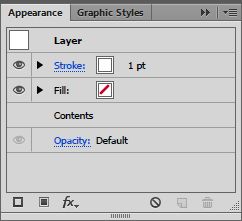
That has removed the stroke from the layer and one of the text objects now has no stroke, but some of them still do.
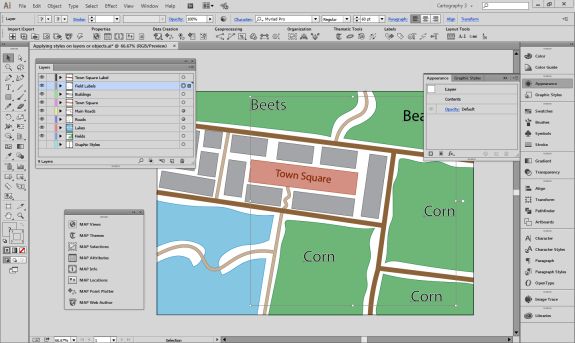
If you expand the Field Labels layer in the layers panel you will see that some of the objects on the layer also have appearances applied directly to them.
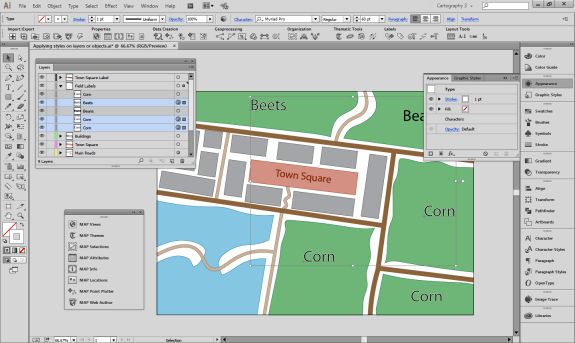
You can select these objects and use the Appearance panel to remove its strokes as well by clicking the Clear Appearance button.
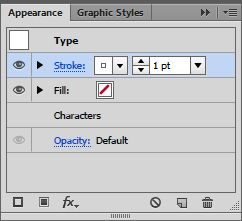
This leaves us with one final label down in the bottom right corner that still has a stroke, but has not had its appearance modified via the Appearance panel.
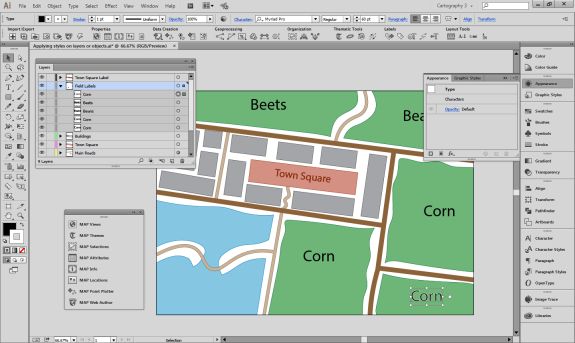
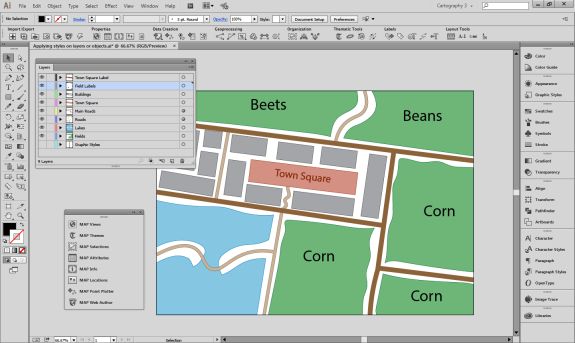
The easiest way to remove the stroke from this object is just to make sure the stroke is in front of the fill at the bottom of the main toolbar and click on the “None” option. Now all our field labels have a simple style.
How MAPublisher works
MAPublisher styling tools all work on an object level. This is because MAPublisher has the ability to independently style objects by attributes they possess. For example you can create a new MAP Theme for the Fields layer based on an attribute called “crop”. This will style each field differently using depending upon its crop type.
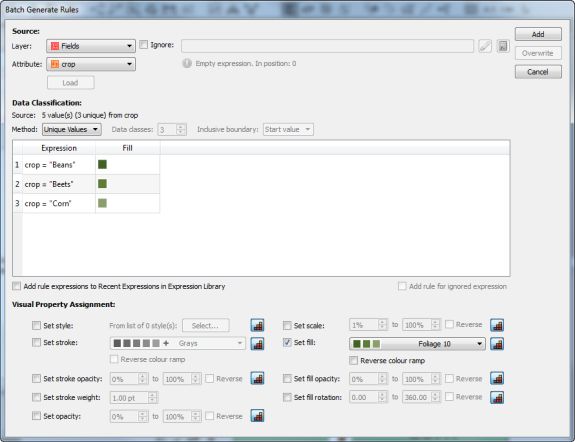
Objects will be styled using standard fills and strokes, rather than using the Appearance panel.
