Getting Started: An Introduction to the MAPublisher Workspace
Welcome to the Avenza MAPublisher Getting Started video series. This video will help you familiarize yourself with MAPublisher and set up your Illustrator environment for these tutorials. Use the video notes below to help follow along.
When using Adobe Illustrator and MAPublisher for the first time, it may be helpful to configure your workspace to match your needs. While every map-maker has their own preferred way of setting up their workspace, we have configured our workspace to fit the mapping workflows we will be covering in this video series.
In addition to your Adobe Illustrator preferences, it is also helpful to configure your MAPublisher preferences. These preferences may be adjusted at Edit > MAPublisher Preferences
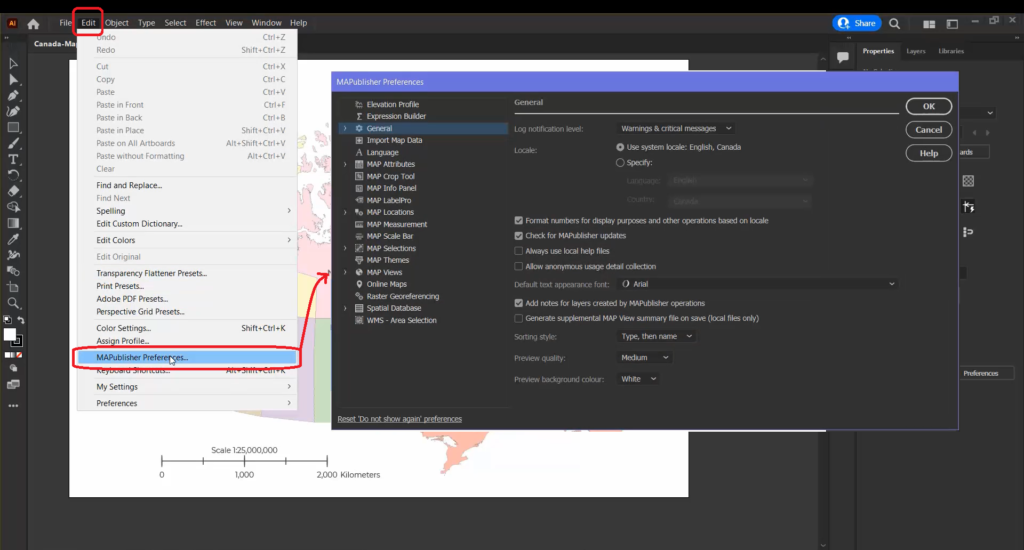
Take some time to familiarize yourself with the different options. For most beginners, you’ll likely want to leave these settings at their default option.
It may be helpful to dock your most important panels and toolbars so they can be accessed easily throughout the mapping process. For most mapping workflows, it is helpful to have quick access to the MAP Views, MAP Selections, and MAP Themes panels. Collectively, these tools allow you to easily organize, filter, and stylize your Map Data. Don’t worry if you do not know how these tools work just yet. They will be explored later in the series.

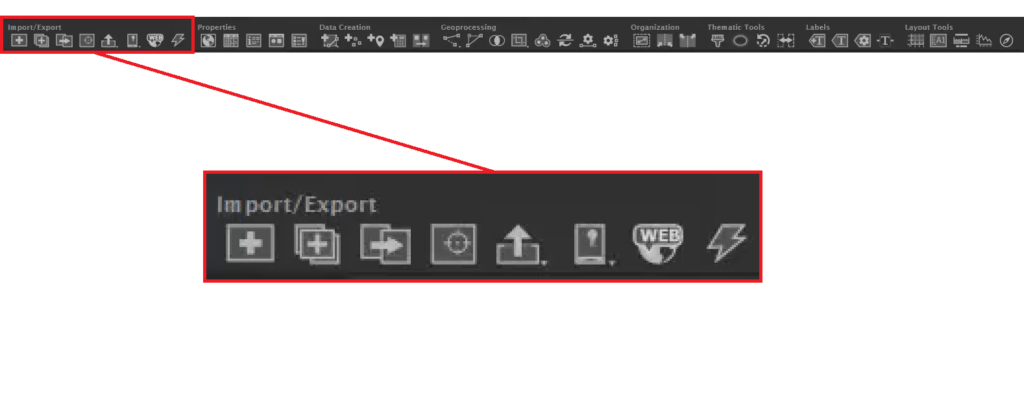
Next up, lets take a look at the basic components of the MAPublisher toolbar. This toolbar houses most of the major tools and features that are important to map-making workflows. The toolbar is split into eight general sections, which transitioning from left to right, roughly approximate the steps in a basic mapping workflow.
The Import/Export section is for importing spatial data to your map, and exporting your maps after you have created them.
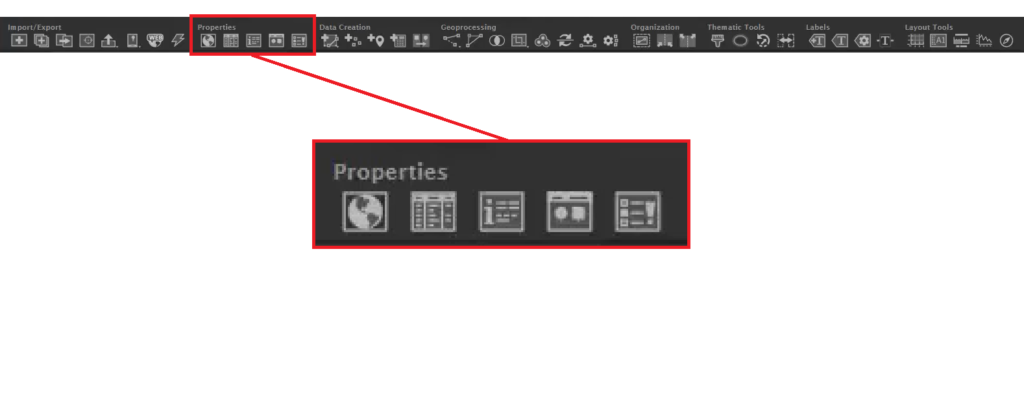
The Properties section contains different panels that open things like your map settings and attribute table.
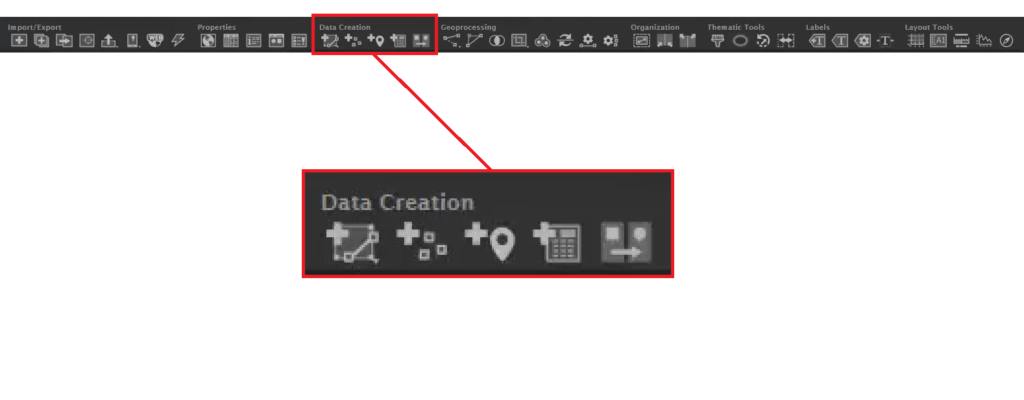
The Data Creation section has tools that help you add data to your map, such as point, line, and area features, as well as other tools like the Georeferencer.
The Geoprocessing section contains tools that allow you to manipulate and modify your map data.
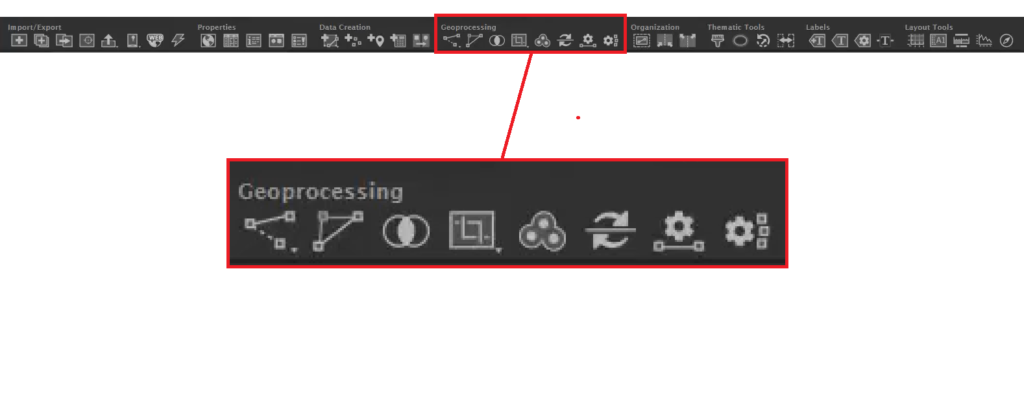
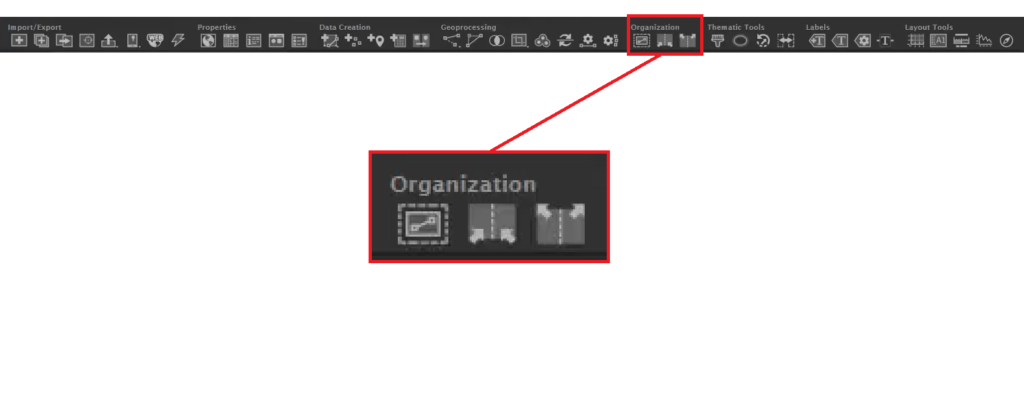
The Organization section has tools that select, merge, and split the Layers of your map. This can be especially useful when dealing with large and complex map datasets.
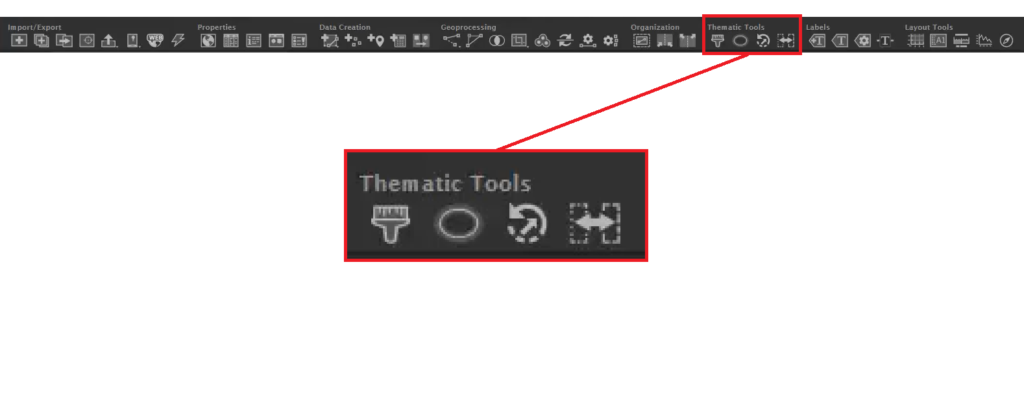
The Thematic Tools allow you to style your map using rules-based Stylesheets, create halos, and adjust how your map data is presented on the canvas.
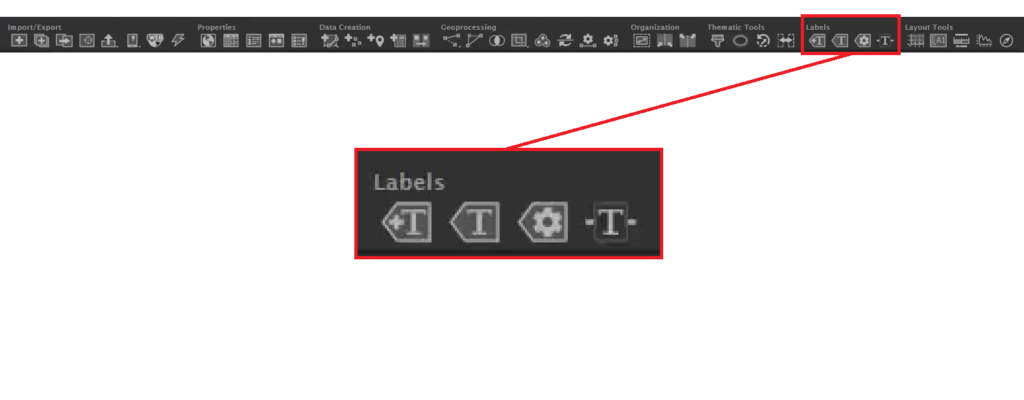
The Labels section contains a variety of tools you can use to label your map, including the Avenza LabelPro add-on.
Finally, the Layout Tools make it easy to add the finishing touches to your map, such as grids, scale bars, and north arrows.
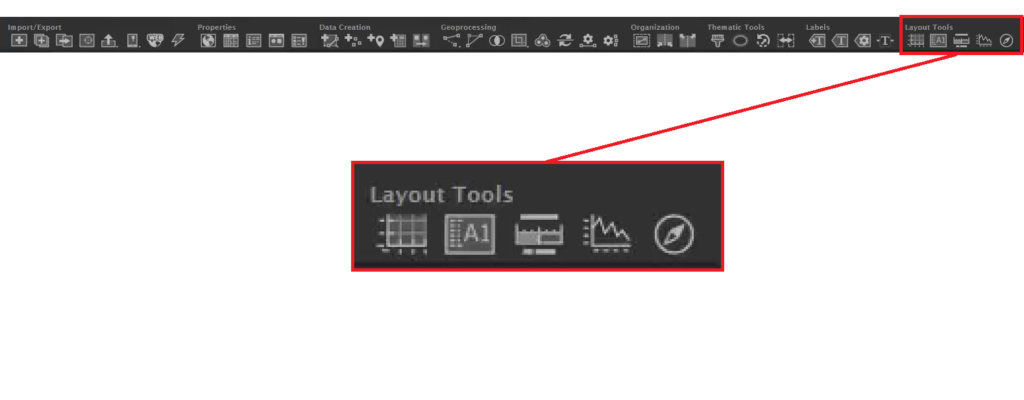
You can customize the MAP Toolbar using the button on the right side. You can disable certain sections of the toolbar if you are not using them.
To see more helpful tutorials for MAPublisher, check out our Support Centre!
- Getting Started: An Introduction to the MAPublisher Workspace
- Getting Started: The Basics of Map Data and Projections
- Getting Started: Import Map Data into MAPublisher
- Getting Started: Create, Copy, and Delete MAP Views
- Getting Started: Working with MAP Attributes
- Getting Started: Transform a Coordinate System Using the MAP View Editor


