Avenza Maps v3.6 is now available for iOS and Android devices! This latest update includes new features and improvements based on user feedback.
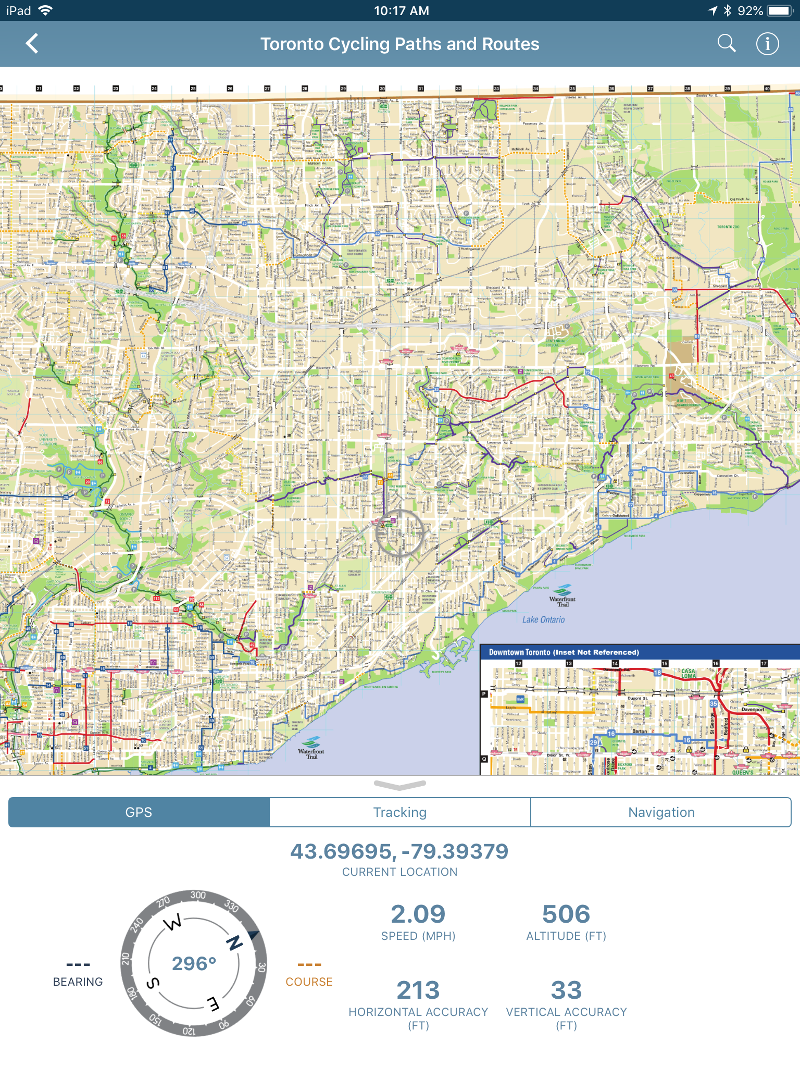
A major theme for this release is navigation, as it introduces a suite of features in the new navigation tool set accessible in the new Map View toolbar. We have enhanced the app’s usability by adding the GPS and Tracking features to the new toolbar. The toolbar is easily accessible by swiping up in the Map View to reveal three options; GPS, Tracking and Navigation.
GPS
We’ve added some basic GPS location data to the toolbar including altitude information (frequently requested by users!) as well as bearing and accuracy information. Heading in a specific direction? Your course will change based on your average bearing to help keep you orientated!
Tracking
What was previously the Record GPS Tracks feature has found a new home as the Tracking feature on the Map View toolbar (but it can still be accessed through the Map Tools in the bottom right). This tab includes some of the features from the GPS tab, and also allows you to track distance travelled, average speed and the duration of your tracks. Once you start tracking, swipe the toolbar down to reveal more of your map but keep those valuable tracking statistics viewable at the bottom of the screen.
![]()
Navigation within the app is intended to be a direct route to the destination (point-to-point). Navigation can be accessed in the new Map View toolbar but is also quickly available in the Map Tools (three dots) at the bottom-right of the screen.
Project Destination
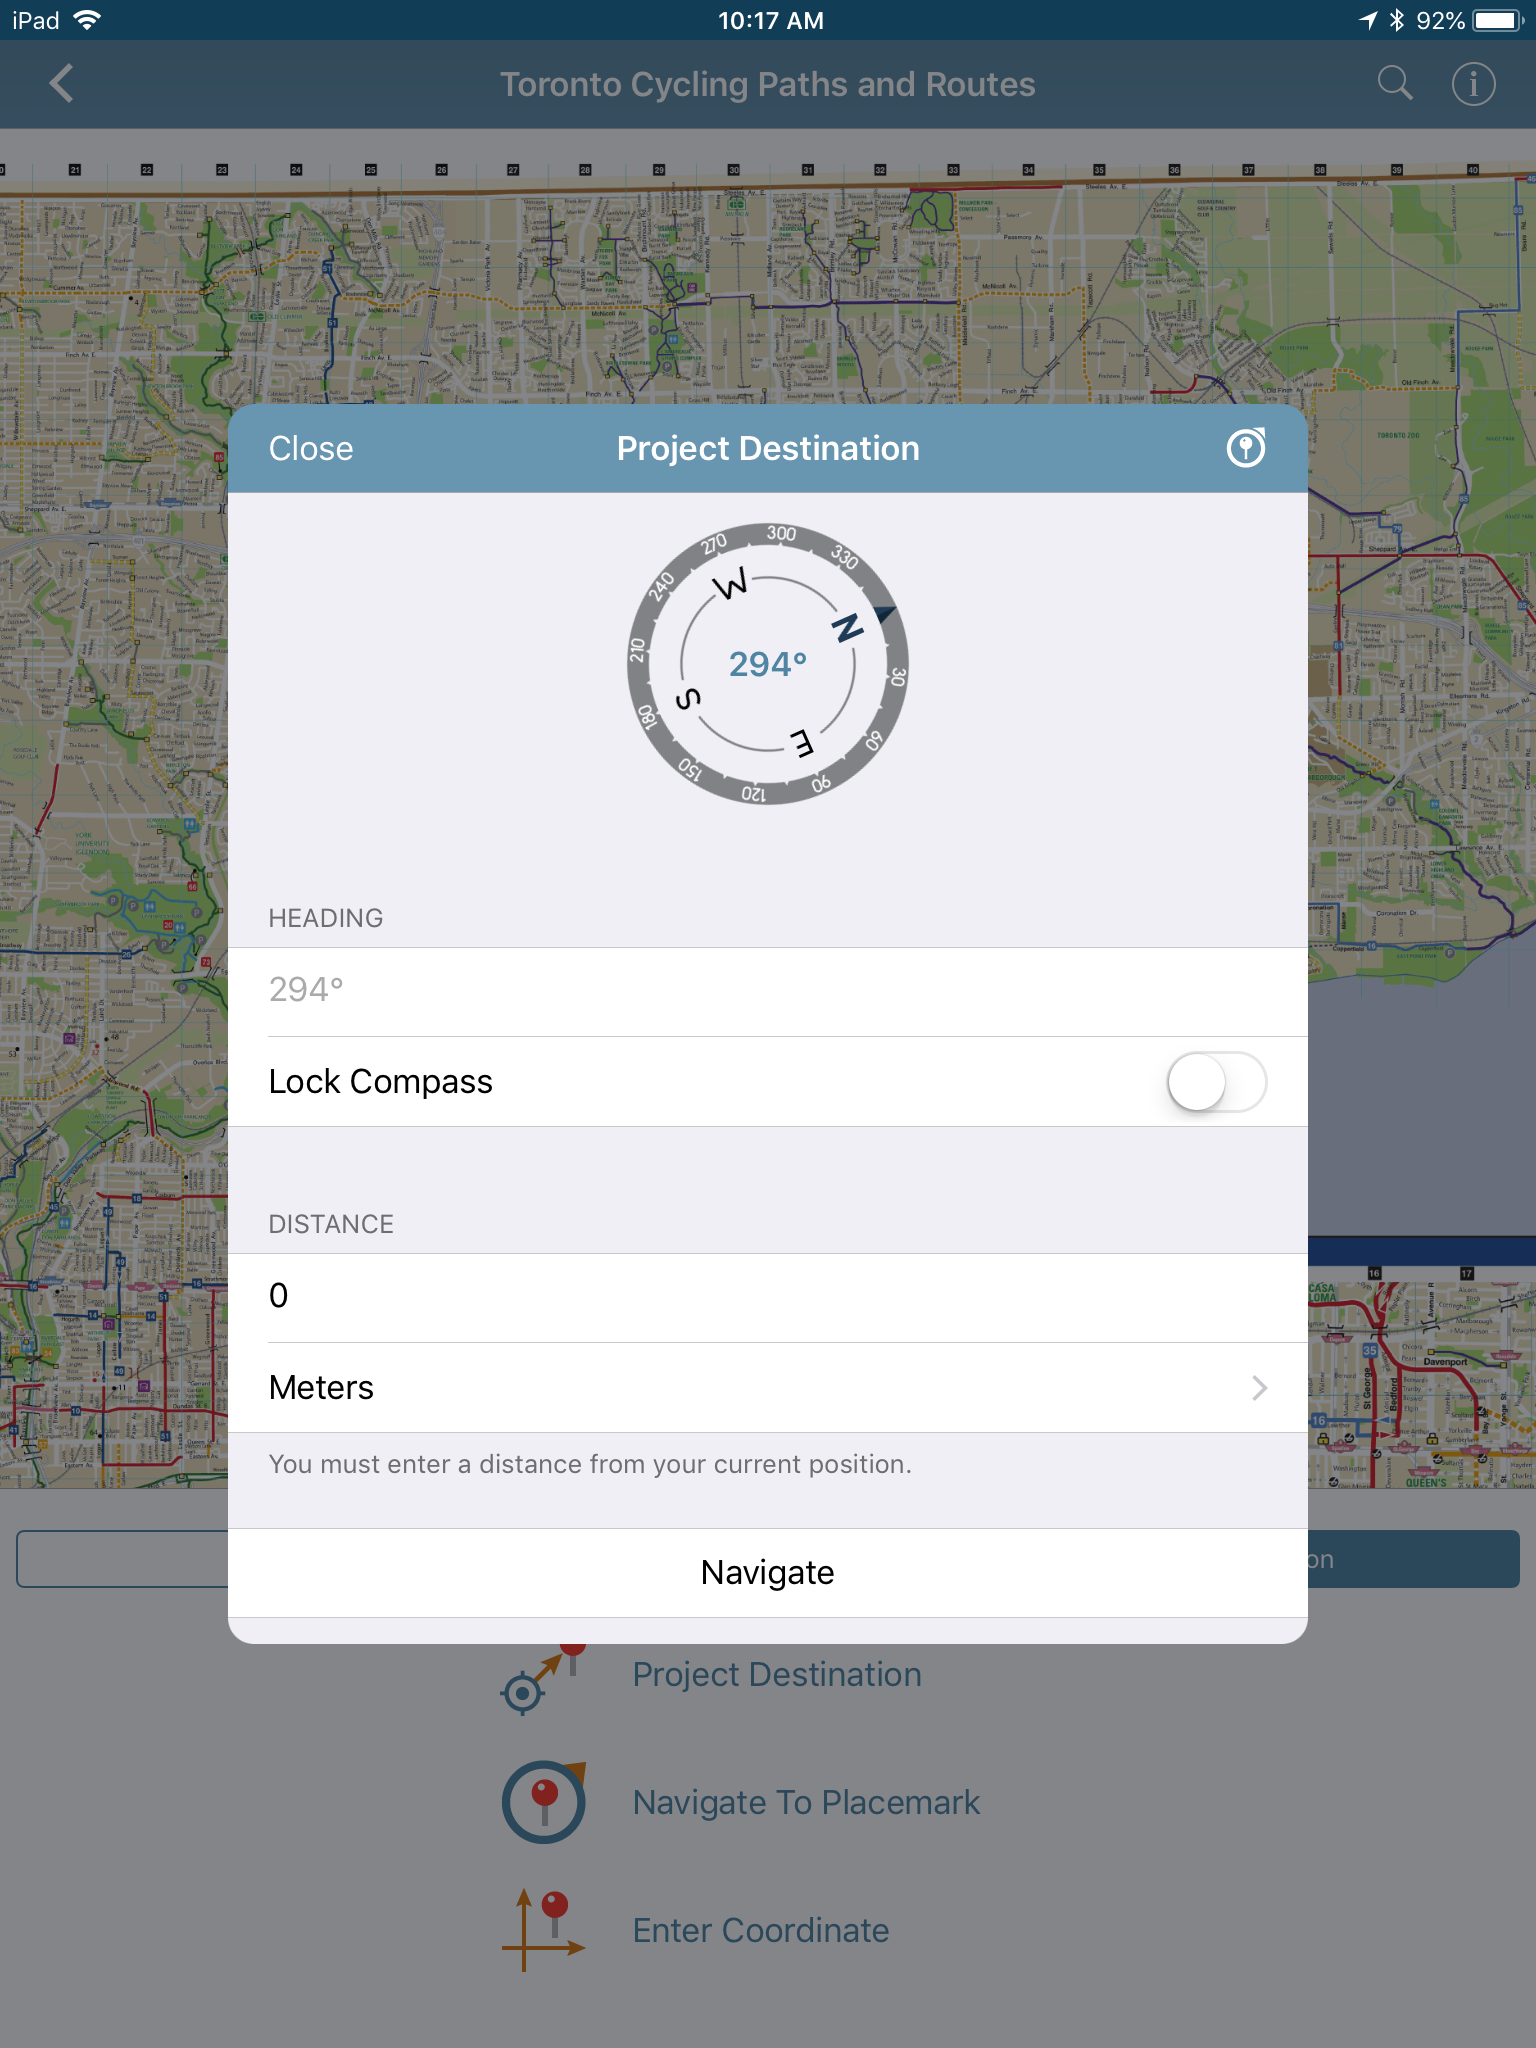
Do you know the direction and distance to a particular location? Set the bearing and distance to your destination, and the app will place a placemark on the map as a guide. You can choose the bearing by either pointing your device in a direction (the heading will automatically be entered) or lock the compass and type in your own bearing. Select from different units of measurement for your distance like meters, yards, or even minutes by walking!
Navigate to Placemark
There are a few ways to navigate to an existing placemark on the map. Of course, you can select Navigate to a placemark in the navigation tab or you can elect to edit one of your previously placed placemarks on the map by tapping the Navigation button.
Enter Destination Coordinates
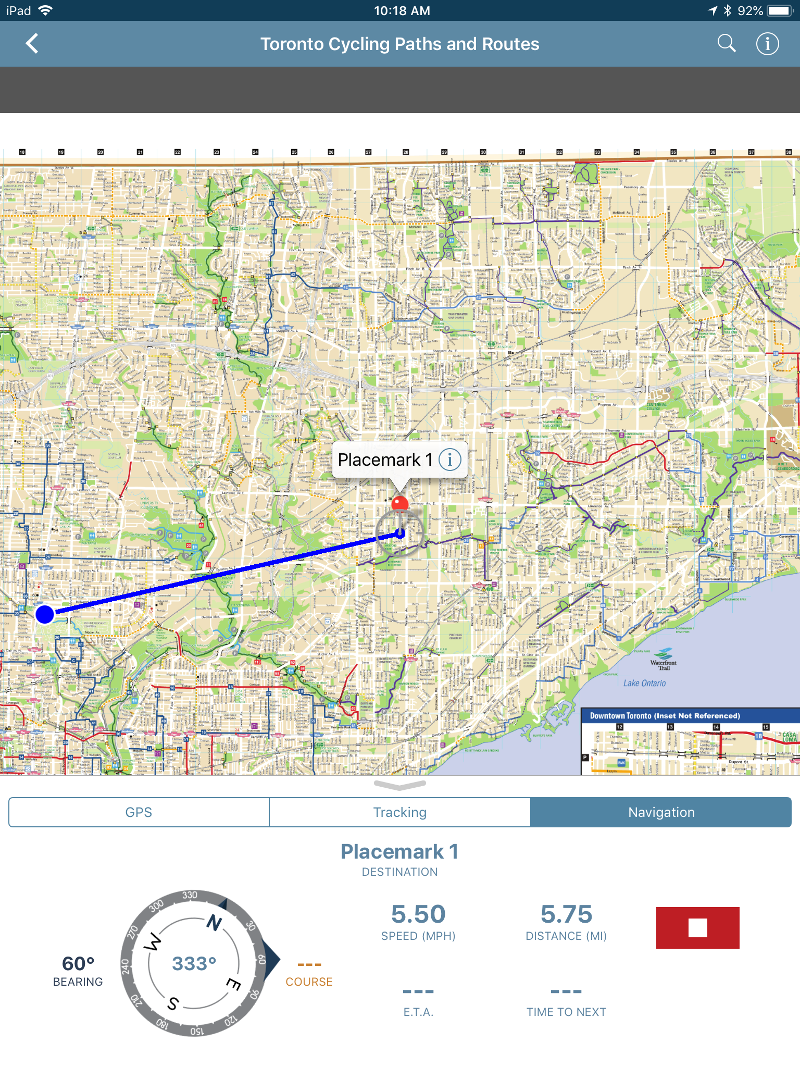
Know the specific coordinates of a destination you want to navigate to? We’ve got you covered! If you receive a set of coordinates you want to navigate to, use the Enter destination coordinates option which will place a placemark on the map, create a path between your location and the placemark as a guide, and bring up the navigation features to help lead you to your coordinates.
Once a navigation option is chosen, details such as speed, distance, and estimated time of arrival are shown in the navigation panel and can be accessed for the duration of your course by swiping the toolbar down. This will hide the compass, thereby allowing you to have a full view of the map and the course to your destination while still showing key statistics like speed, distance and the estimated time of arrival to your destination.
Cloud Import and Export Options
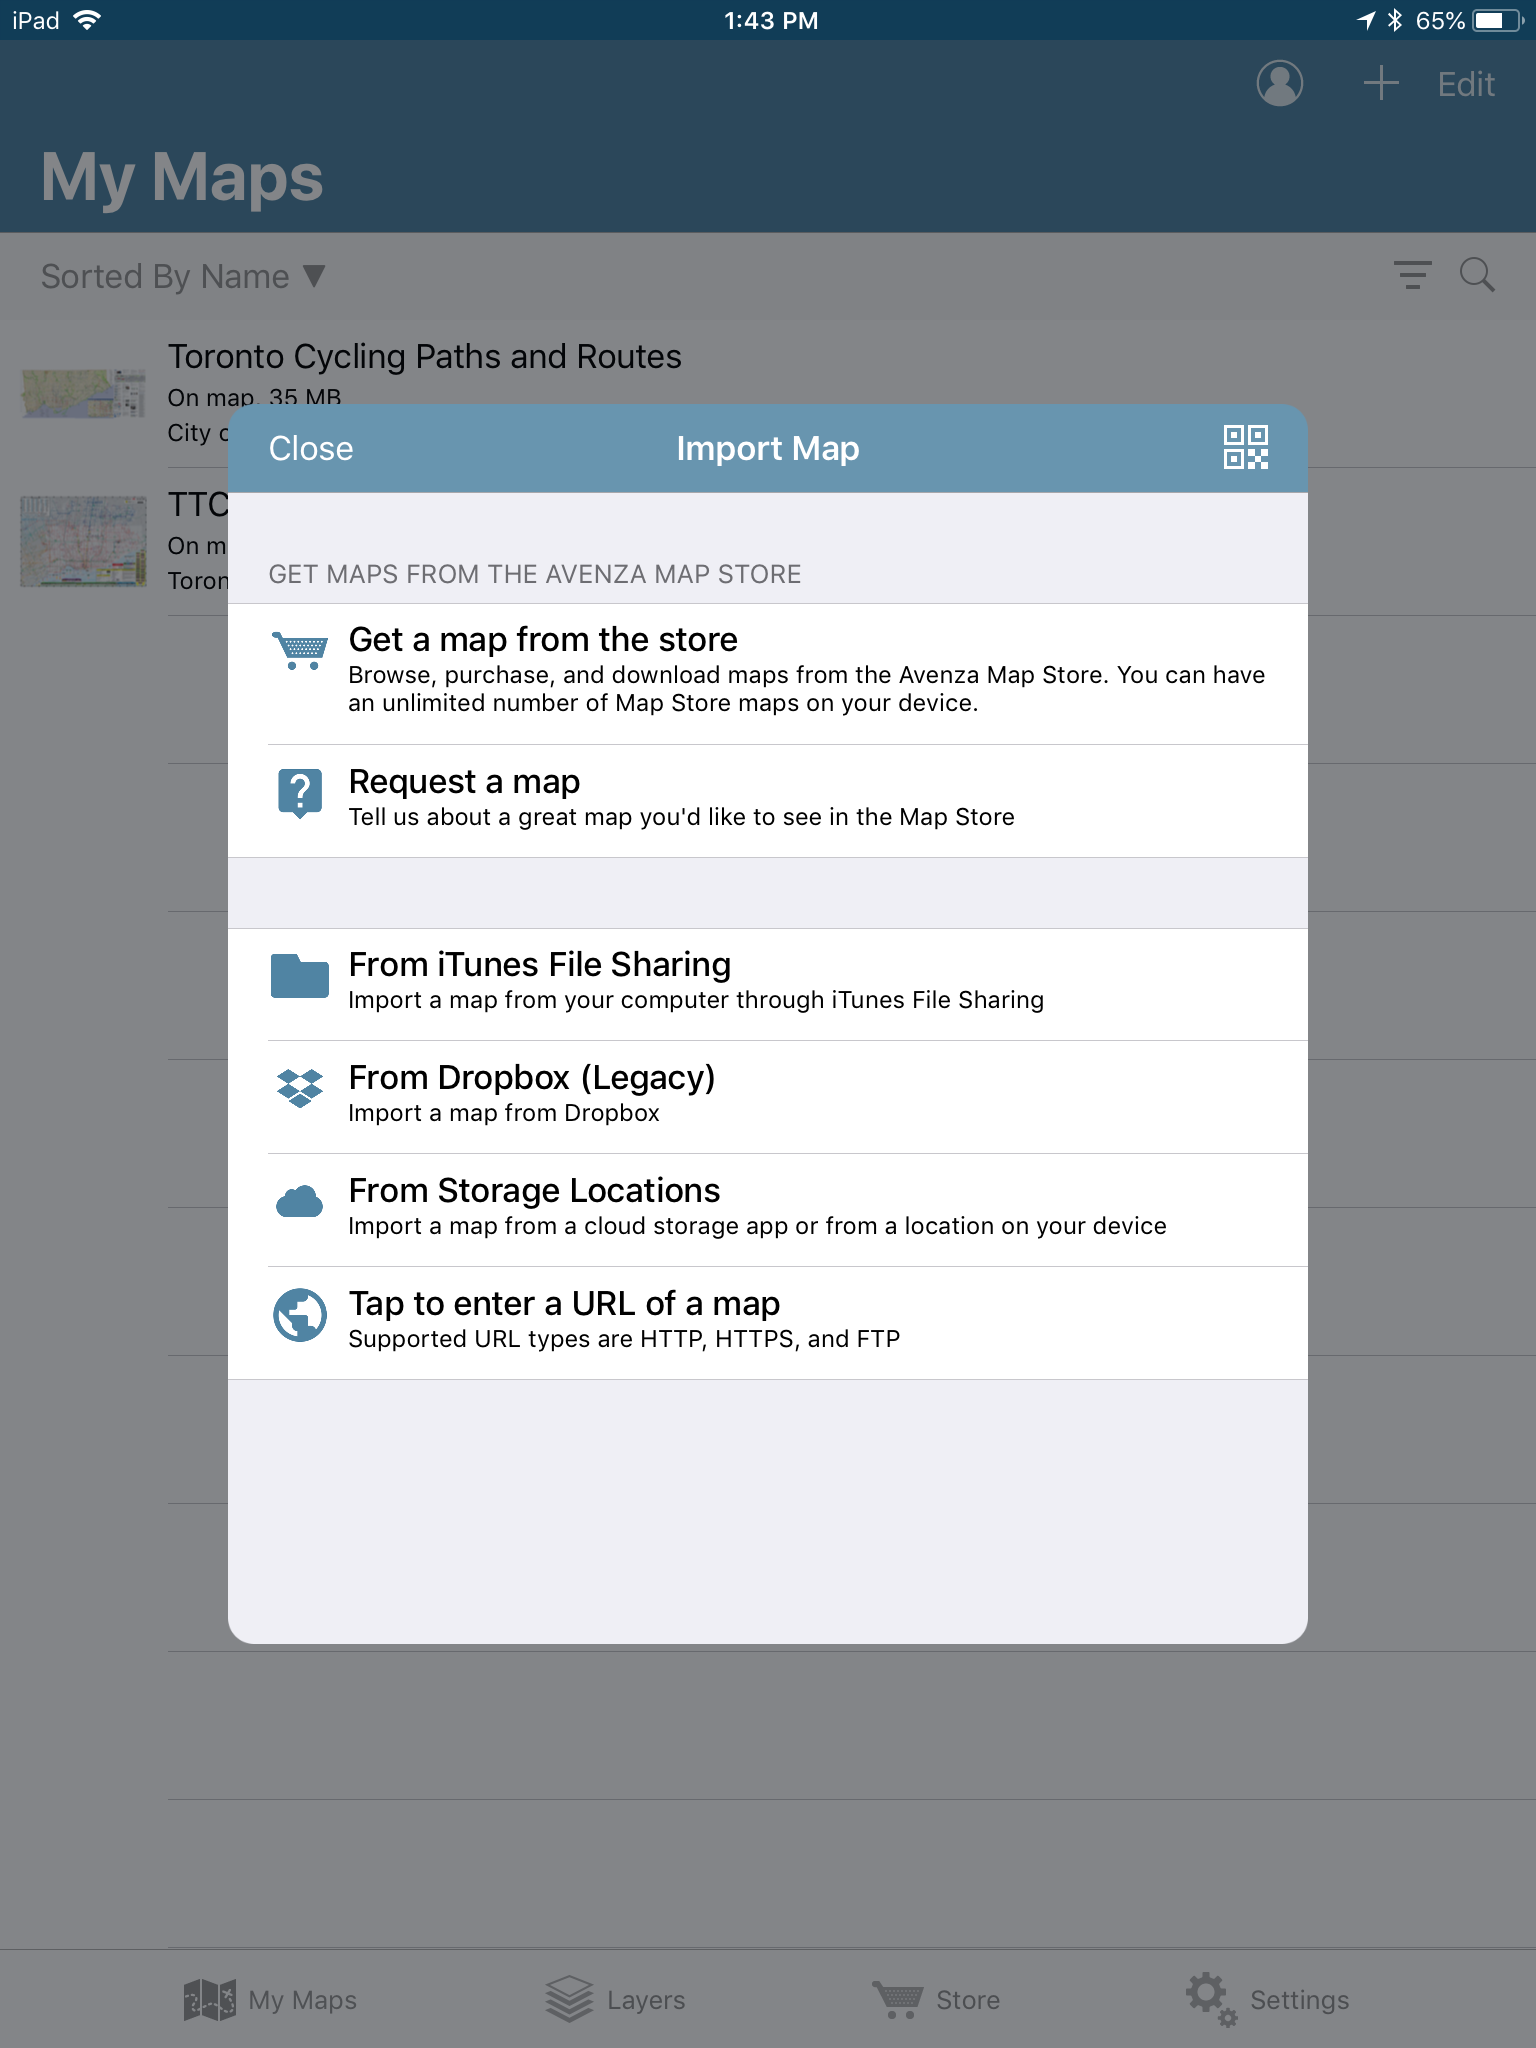
We’ve added more opitons for importing and exporting map features with support for cloud storage apps. When importing map features, and choose From Storage Locations to pull up every possible file storage option on your device. New options include Google Drive, OneDrive, Box and other third-party cloud storage applications.
Magnetic North
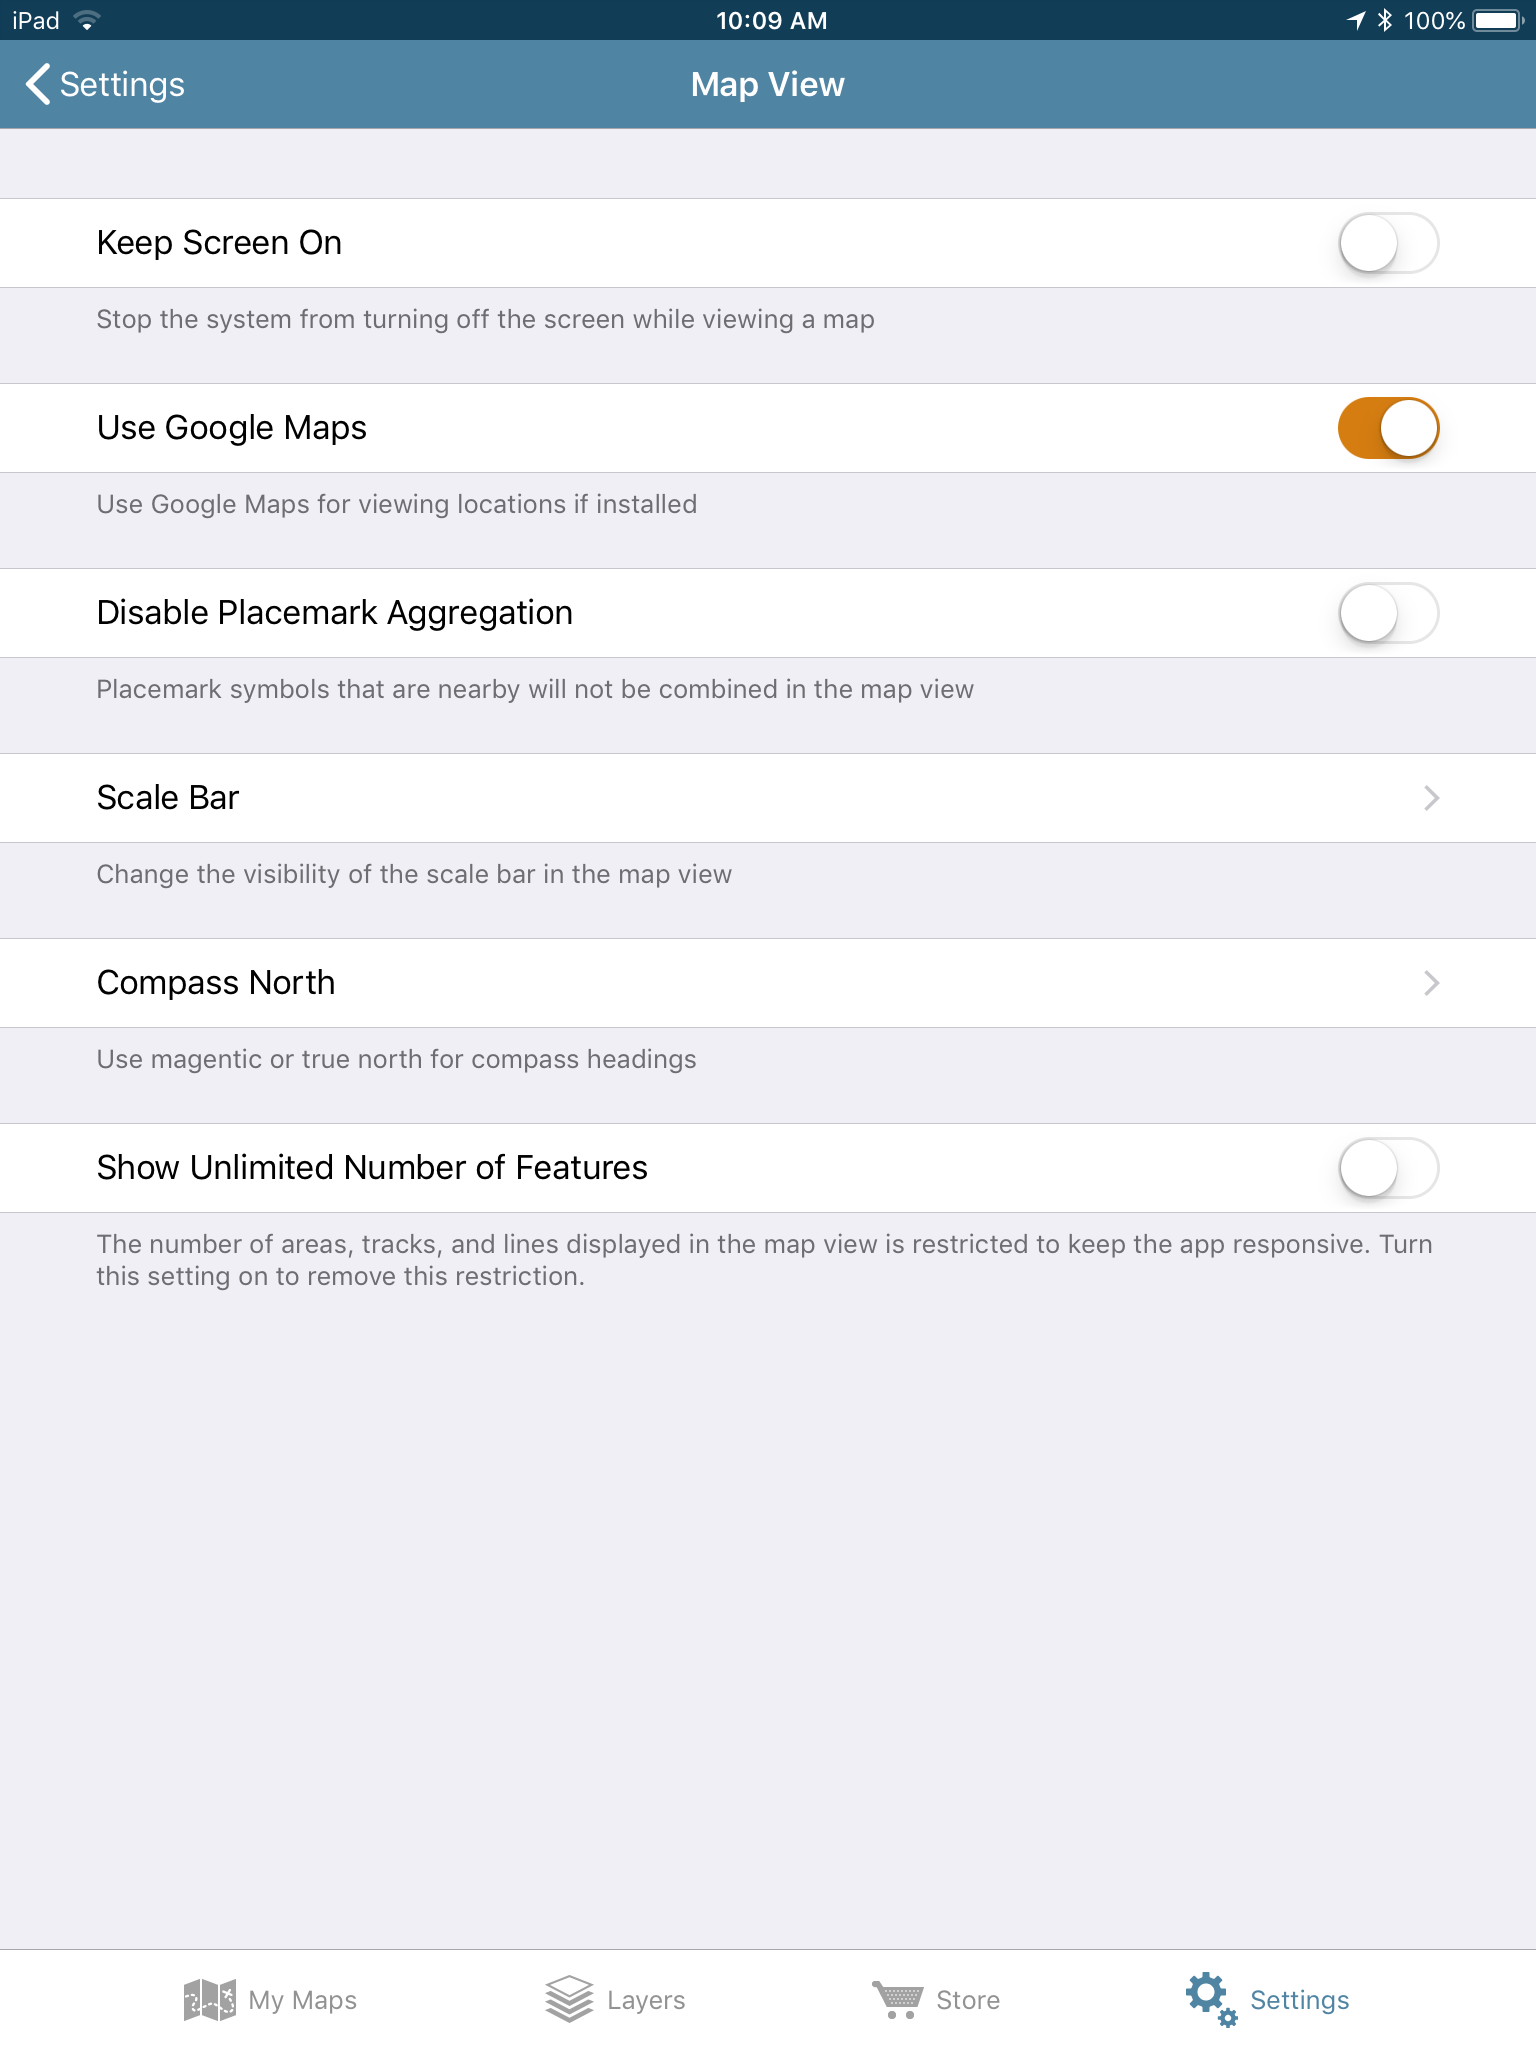
You can now choose the declination for the app’s built-in compass as it now supports magnetic declination and magnetic north. Users can opt to switch to magnetic north in the Map View settings in the app.
About the Author
Andrea Becker is a member of the Support team at Avenza Systems and is excited to help navigate users through all of the wonderful new features in version 3.6!


