My Account     Contact Us     Cart

Mapping Other Worlds: Coming Soon to MAPublisher

Every year new projections are created and we endeavour to add all of them to MAPublisher with new releases. While we’re very excited about Equal Earth coming in MAPublisher 10.4, there are a few other new projections that will also be added. Looking outside of our regular sphere of planet earth, we’re excited to announce we’ll be including Narnia Conic, Pandora Copernican, Camelot Equal Area and Atlantis Azimuthal.

We’re very comfortable mapping planet Earth. There are hundreds of projections to choose from, whether you’re mapping a town, a state or a continent there are lots of options. While the world of planetary cartography is growing, there are relatively few projections for planets outside our realm. Pandora Copernican is the first of its kind and can be used for the entire planet of Pandora. While the Na’vi may not be big map users, the humans on Pandora need them in their quest for unobtanium.

Pandora Avatar

Narnia Conic and Camelot Equal Area will help create a more solidified general map for both lands. While both exist in different realms, these projections will help cartographers create maps to assist readers in identifying key plot locations and add to their enjoyment of the story. By creating projections for these two areas, the maps created for these mythical areas will now allow for a more accurate representation of the fantasy.

The most anticipated projection, Atlantis Azimuthal, will allow any cartographer to display Atlantis in its full glory. With Atlantis Azimuthal, the islands around Atlantis will be shown in proper relation to the capital, along with the canals. Bringing Plato’s land to life, Atlantis Azimuthal will be a staple for all cartographers mapping mystical lands.

These undoubtedly useful, otherworldy projections will be available with the upcoming release of Avenza’s MAPublisher cartographic plug-in for Adobe Illustrator.
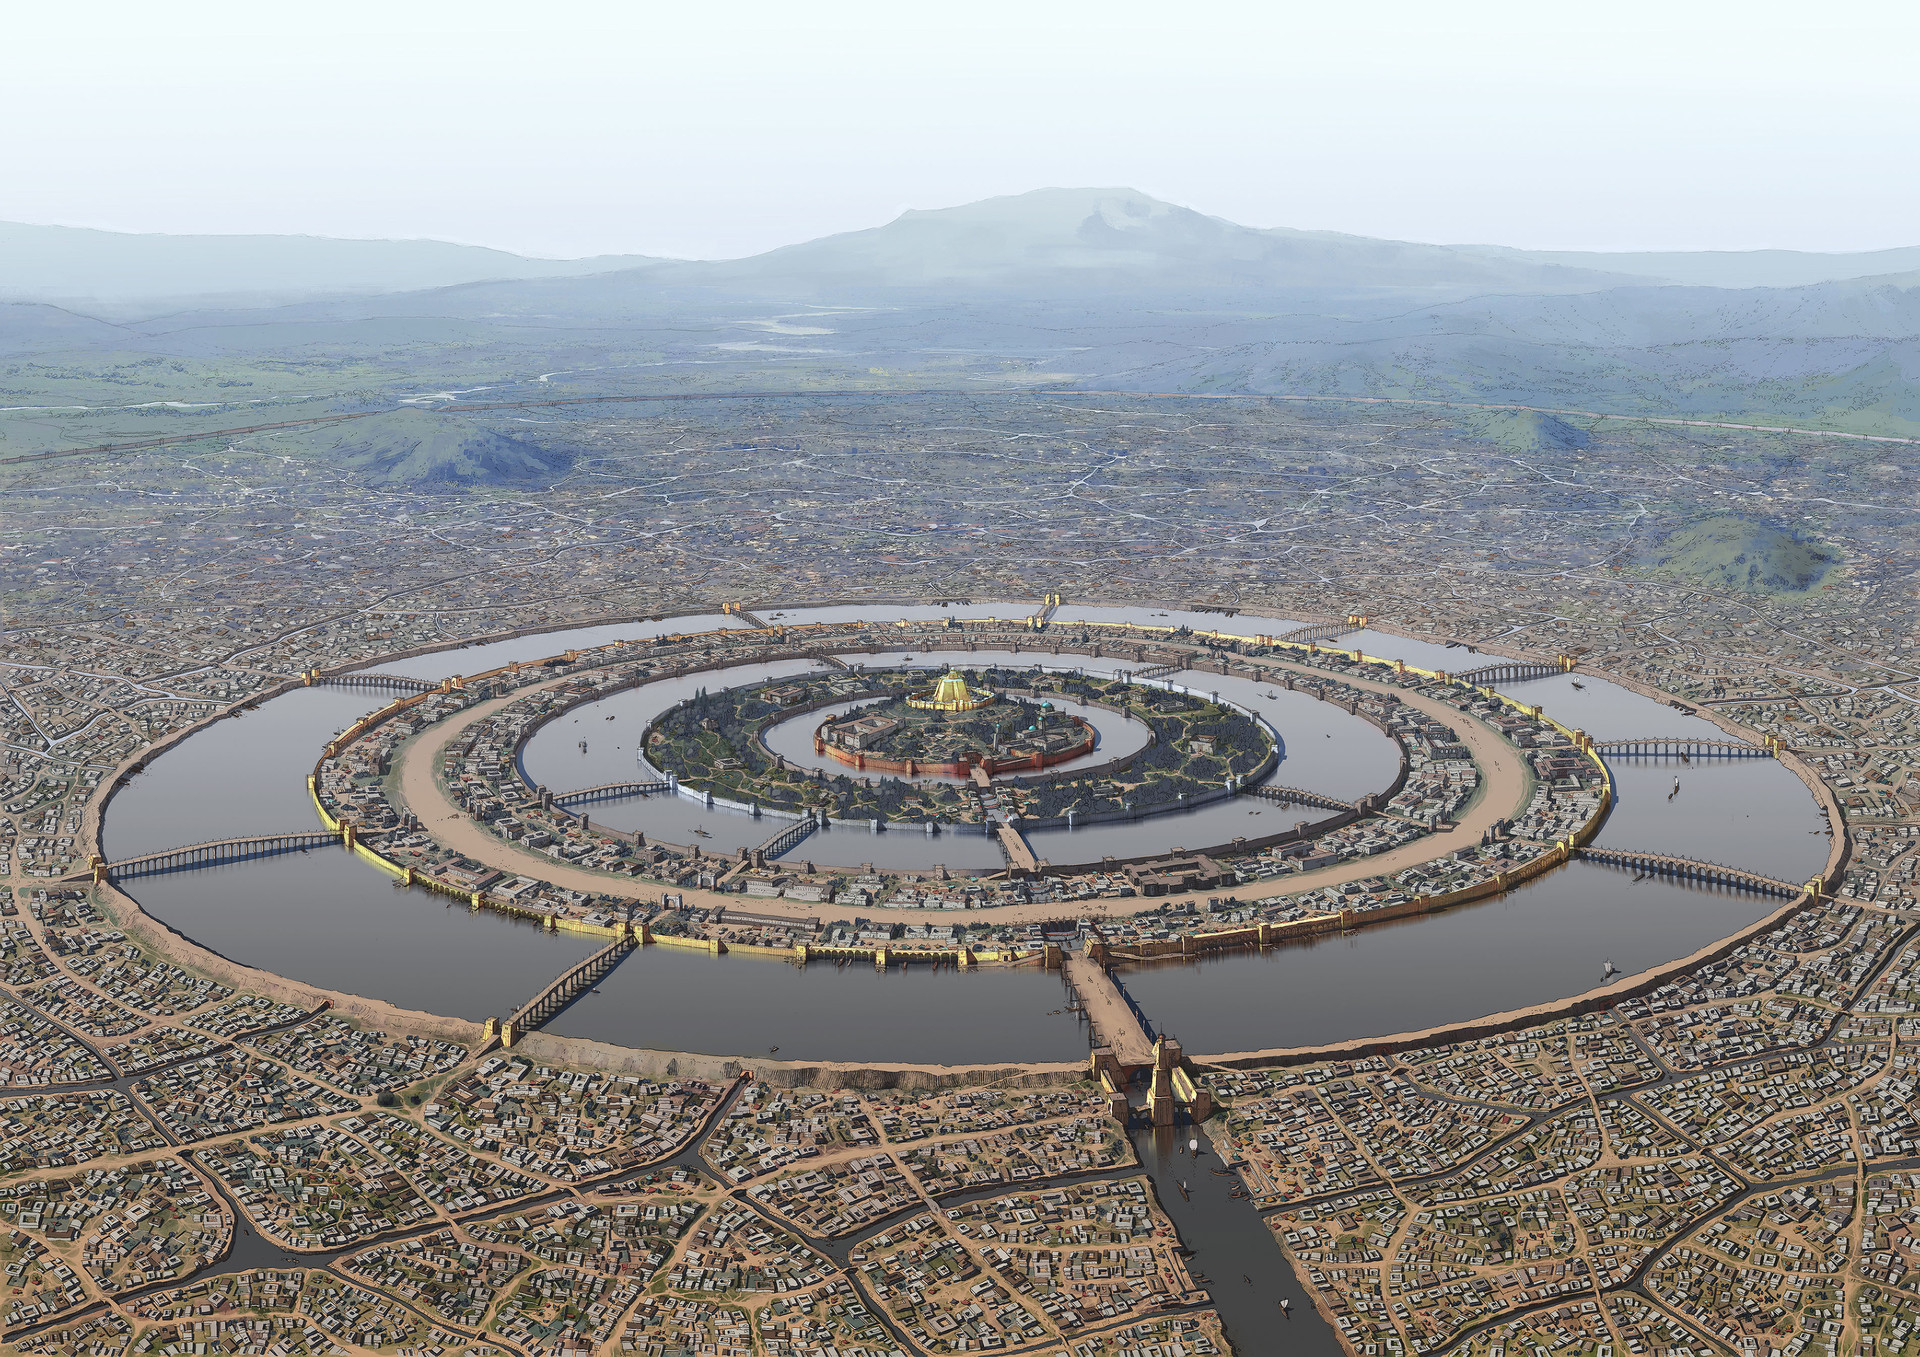
Atlantis Drawing

Atlantis image source: https://rocioespin.artstation.com/projects/8ong6

Using Automation in MAPublisher

We are always looking for shortcuts to make work easier for our MAPublisher users. One way to simplify your workflow is by automating some of the routine tasks that are required to make maps using MAPublisher in Adobe Illustrator. Not everyone is familiar with software automation, or even knows that it’s available in MAPublisher but if you are curious to learn more, then keep reading!

Automation tools in MAPublisher help to make simple or repetitive tasks easier and faster. Automation can be run independently or in conjunction with the FME Auto MAPublisher Plug-in which allows more advanced automation. The Automation tool can be accessed from the automation button (lightning bolt) on the MAPublisher toolbar, or by clicking in the menu Object > MAPublisher > Automation.

MAPublisher Toolbar Automation

There are several automation options available in MAPublisher. You can use automation to create MAP Grids, apply labels, apply applicable MAP Stylesheets, and even export to geospatial PDFs. An important point to note, to use automation on a MAPublisher document, the document must be active in Illustrator.

Automating Map Views

If you’re planning to use automation, you’ll have to enable the specific options you would like to automate. For example, to import data to a matching MAP View, simply enable the MAP Views option, and select from the dropdown list the tasks that you want MAPublisher to complete. Make sure that the coordinate system of data being imported matches a coordinate system of the existing MAP View, then select one of the four actions for your data.

MAPublisher Automation MAP Views

Automating MAP Themes

If you’re a fan of MAP Stylesheets (we all know they make our lives easier) then you can have MAPublisher apply them using automation. Enable the option and MAPublisher will apply any  MAP Themes that meet the criteria to the imported data. Don’t forget to set the ‘Auto-assign’ in the specific MAP Stylesheets themselves as well since you can’t link layers that haven’t been imported yet. If the ‘Auto-assign’ properties aren’t set correctly, your data will import but the stylesheet will not be applied.

MAPublisher Automation MAP Themes
Automating Grids & Graticules

For Grids & Graticules, you can set the extents for the grid bounds with either the MAP View or a layer that you’re going to import. If you’ve already created configuration files for your grid, then select either ‘All configuration files in this folder’ or ‘Only these configuration files’ if there is a need to use only certain configuration files.

Automating Labeling

When you enable labeling, choose either MAPublisher labeling or LabelPro. You’ll also have to choose a specific setting in the MAPublisher Preferences (Edit > MAPublisher Preferences > Import MAP Data). Uncheck ‘Append feature type as the suffix on imported layer names’ to be sure that your labels import properly.

To use the regular Label Features option, set the details such as the source layer, target layer, attribute, and the style. You can add as many layers as you need with the Add Layers button on the left, and remove as necessary. If you’re using LabelPro, simply load the .lps file.

MAPublisher Automation Labeling

Automating Export to Geospatial PDF

Last but not least, if need your document to be exported to a geospatial PDF as the last step of the automation process, enable the option and specify the location you’d like it saved in. Once you’ve selected all of your automation settings, import your data to watch your automation work!

Enabling automation in MAPublisher can speed up your map making process, and make your workflow easier. Save yourself extra steps when working with stylesheets and grids you’ve already created, and let automation do the work for you. Simple MAPublisher magic!

News Archive