PLEASE NOTE: As of Photoshop 22.5, Adobe has discontinued support for the program’s 3D features. This may affect some or all elements of this blog. For more information, see Adobe’s FAQ page about this change and the Geographic Imager compatibility information page.
NOTE: Prior to performing these steps with your data you would want to ensure that the DEM and image have the same geographic extents.
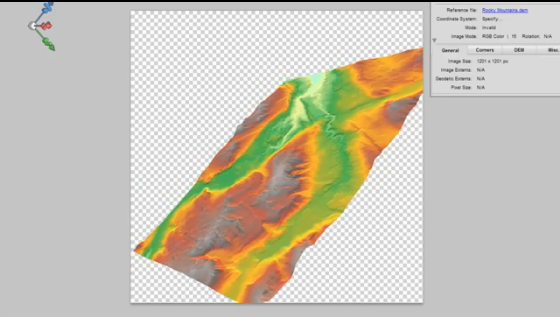
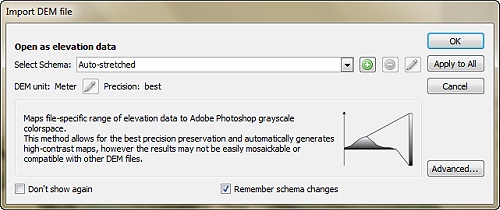
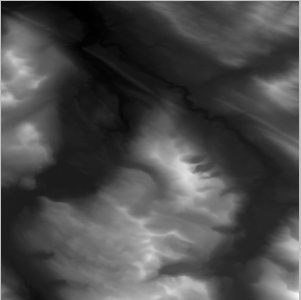
Using Geographic Imager, open your DEM file and set the desired schema type. In this case the DEM was “Auto stretched”.
With the DEM now opened and rendered as a 16-bit grayscale Image we can now make use of a number of Adobe Photshop tools to render it in 3D and to drape the image.
The following steps will outline the Adobe Photoshop procedures required to create the 3D rendition:
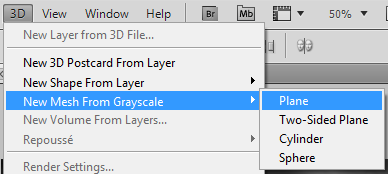
1. Create a 3D mesh: Under the 3D menu within Photoshop select “New Mesh From Grayscle->Plane”
2. We then use the “3D Object Rotate Tool” located in the Photoshop toolbar to manually rotate the mesh tilting it backwards, resulting in something like this
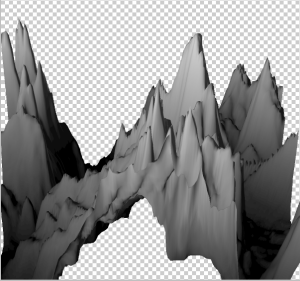
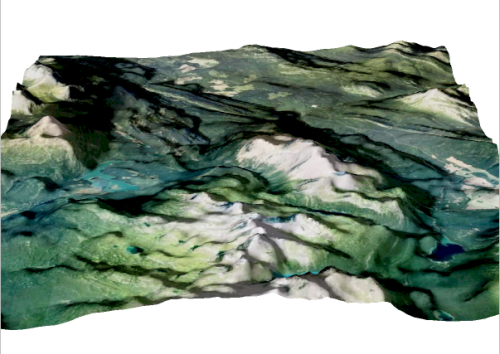
3. The resulting mesh is too exaggerated for a realistic rendering of the landscape so we will adjust the y orientation of it using the “3D Object Scale tool” setting the Y: scale to 0.10

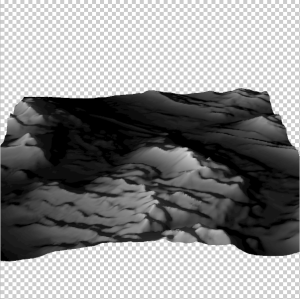
This is the image after vertically rescaling it
4.Once the 3D mesh has been rescaled the image can be draped
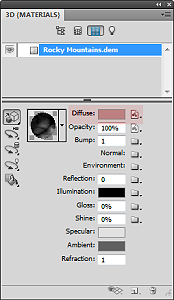
In the Adobe Photoshop “3D Materials” panel, click the “Edit Diffuse texture” button (as denoted in the screenshot below) and select the “Load Texture” option. Now locate and select the image you wish to drape on the 3D mesh.
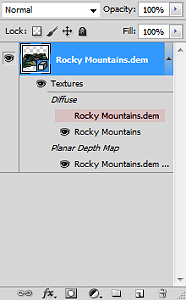
5. Within the Layers panel turn off the visibility of the Rocky Mountain DEM (as in the screenshot below).
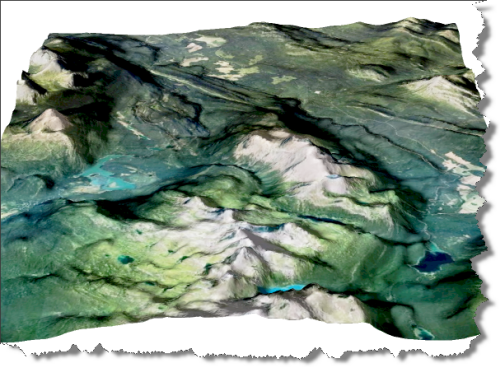
The end result should be a 3D model such as this.